
Somehow, each school year, I always forget how hard it can be to turn a classroom into a well-oiled machine.
One of the hardest areas I have found to get set up and fully functioning each year is reading centers. The struggle might be real, but it doesn’t have to be.
Let me share some tips for teaching your students about your reading center process to make the transition period less painful.
Tip #1
My #1 tip is…
Go slow to go fast. Going slow in the beginning is so important so your students can really nail the routines, procedures, and structure of centers.
This might include…
- Teaching, reteaching, & practicing the same center over and over again
- Practicing transitions over and over again
- Stopping centers abruptly to go over expectations again
- Focusing solely on the procedure and less on actual learning (at least at first) – This is so important, because if it’s chaotic, there won’t be much learning or practicing going on at all anyway.
- Addressing problems quickly when you see them happening in real time
These suggestions might sound tedious, daunting, and disruptive, but I can promise you that if you focus on these things in the beginning, your classroom will run much more smoothly, which will allow learning to take place and exponential growth for your students.
Tip #2
Teach each center independently. Your students should know exactly how each center works and have zero questions about them before combining that reading center with another center.
Tip #3
Slowly add in centers to a rotation. Do NOT start rotating all centers at once. You need students to get used to rotating centers and completing centers independently while rotating with 2 centers at a time, then 3 centers at a time, and so forth until all centers are rotating at once. The teacher center should be the last center introduced, so you can walk around and answer questions as needed.
I typically follow a schedule like this:
- Introduce center 1 and practice center 1 independently for 3 days.
- Introduce center 2 and practice center 2 independently for 3 days.
- Practice centers 1 and 2 on the same day (but go over expectations or procedure before/in between each center – therefore, no transitioning/switching centers independently) for 2 days
- Introduce center 3 and practice center 3 independently for 3 days.
- Practice centers 1 and 3 on the same day (but go over expectations or procedure before/in between each center – therefore, no transitioning/switching centers independently) for 2 days.
- Introduce center 4 and practice center 4 independently for 3 days.
- Practice centers 2, 3, and 4 on the same day (but go over expectations or procedure before/in between each center – therefore, no transitioning/switching centers independently) for 2 days.
- Practice centers 1, 2, 3, and 4 on the same day (but go over expectations or procedure before/in between each center – therefore, no transitioning/switching centers independently) for 1 day.
- Introduce center groups. Introduce center rotation slideshow & timers. Practice rotating with your group to each center (literally just moving to the different areas, not completing any work. Practice transitioning to two centers for each group (completing the work in each center) for 1 day.
- Practice transitioning to two different centers for each group (completing the work in each center) for 1 day.
- Practice full centers (including the teacher center).
Tip #4
Reteach expectations often. Especially in the beginning, it is important to go over expectations for centers often. Don’t be afraid to stop centers completely to reteach expectations altogether again. This might seem annoying and redundant, but it’s important to have those expectations nailed down. If your centers are sloppy to begin with, they will only get worse – I promise you – unless the problem is addressed and fixed.
Tip #5
Use a visible countdown timer. Let’s face it, timers help people of all ages stay on task. If students know what is expected of them to finish by the end of center time, having a visible timer showing students how much time is left in each center helps students hold themselves accountable during center time.
I actually incorporate a timer in my center rotation slideshow (see picture below).
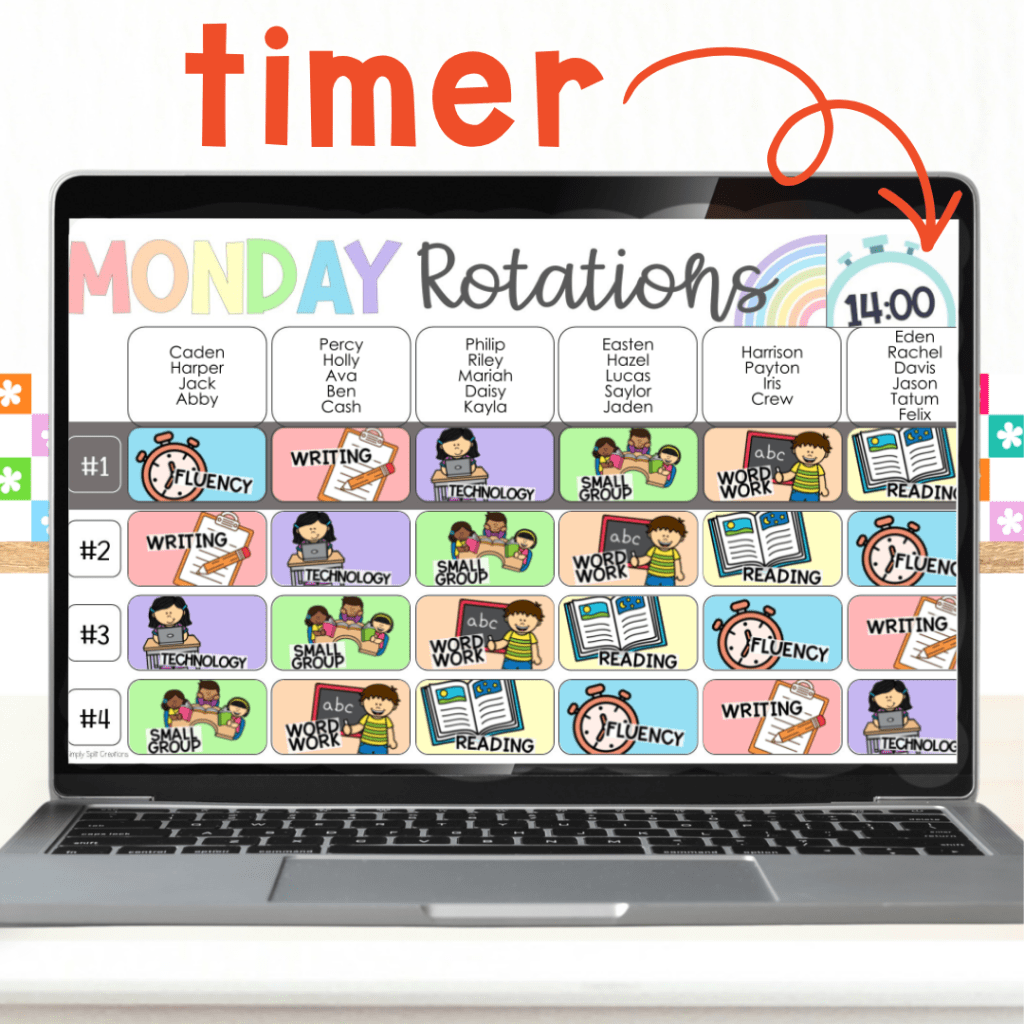
The center rotation slideshow also really helps students understand clearly which center they’re supposed to be at and where they will go next. The slideshow definitely keeps my centers nice and organized. I sell these center rotation slides in my shop, and they are linked below if you’re interested.
Tip #6
Plan for clean-up time in between centers. Picture this, you’re a little 2nd grader heading to your next center, really excited to do the word work activity. BUT, when you get to the word work center, you find papers scattered around the table, pencil shavings everywhere, and you’re not sure where all the dice went that are needed for the activity. Would you be able to get to work very quickly? Probably not. First, you’ll need to find Jimmy and ask him where all the dice went. Then, if you are lucky enough to find the dice and don’t get distracted talking to other students in Jimmy’s group, then you have to clean the work station, or hope that it doesn’t become a distraction.
Do you get the point? The bottom line is that clean centers = less distractions which means more productive students
STILL STRUGGLING?
If your centers are still a hot mess after implementing these suggestions, you may want to take some time to analyze your center activities. Ask yourself questions like…
- Are my centers easy enough for my students to complete independently, while still being challenging enough to help them progress and grow?
- Are my centers consistent each week? Or am I constantly introducing new centers?
- Are there too many steps, moving parts, or tools needed to complete any of my centers?
If it seems that your center activities are the problem, I will share my favorite full year reading centers resource that will not only help fix any of the above problems, but also be super EASY to prep each week because who has hours to prep centers each week.
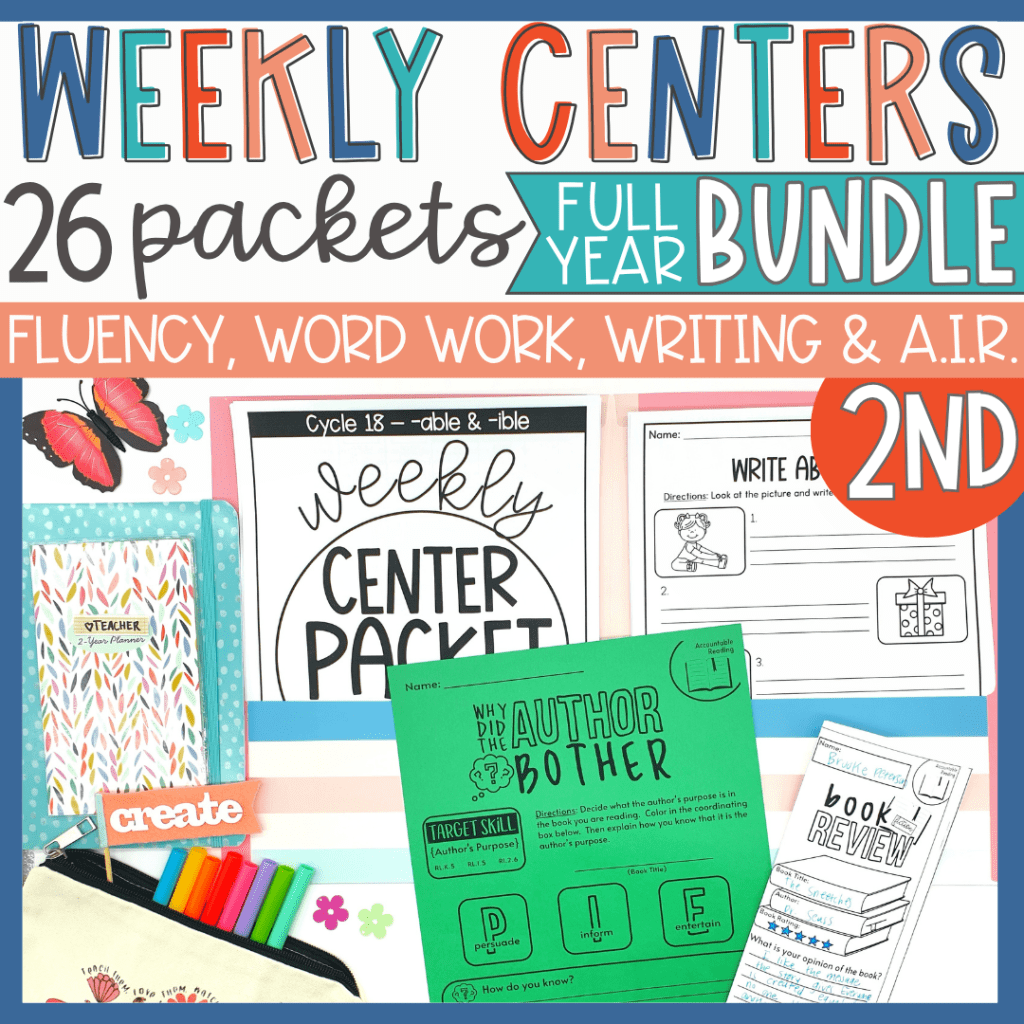
These weekly reading center packets include several activities for each center (word work, writing, fluency, and accountable independent reading) totaling in 29 pages (per packet). This gives you the ability to pick and choose the activities you’d like your students to complete.
My favorite part about these weekly center packets is that there is an accountability portion included. The first pages include a checklist where students can mark off each page as they complete them. With an accountability portion like this, it helps students stay on task and take ownership for the work they have completed (or not completed).
I know many people might not be a fan of “worksheet” styled centers, but I will tell you why I will always choose this style of center over task cards, a game, or activity…
- You can actually SEE the work students are doing which allows you to check their progress
- Student can be held accountable (rather than, slack off or play games without the academic portion included)
- The prep is actually manageable and takes WAY less time. No laminating, no cutting, no little pieces.
as a sidenote…
- I was very intentional when making these worksheets. They are not traditional, boring worksheets. Instead, these worksheets were made with the child’s interest in mind, meant to engage and challenge students.
- The activities are consistent week to week, so students are never guessing HOW to do an activity. They already know what is expected of them.
- I like to include fun learning games/activities at my teacher center, which gets students excited, and I can monitor their progress this way
These weekly center packets are available for the full year for 1st & 2nd grade (look at the bundling options below):
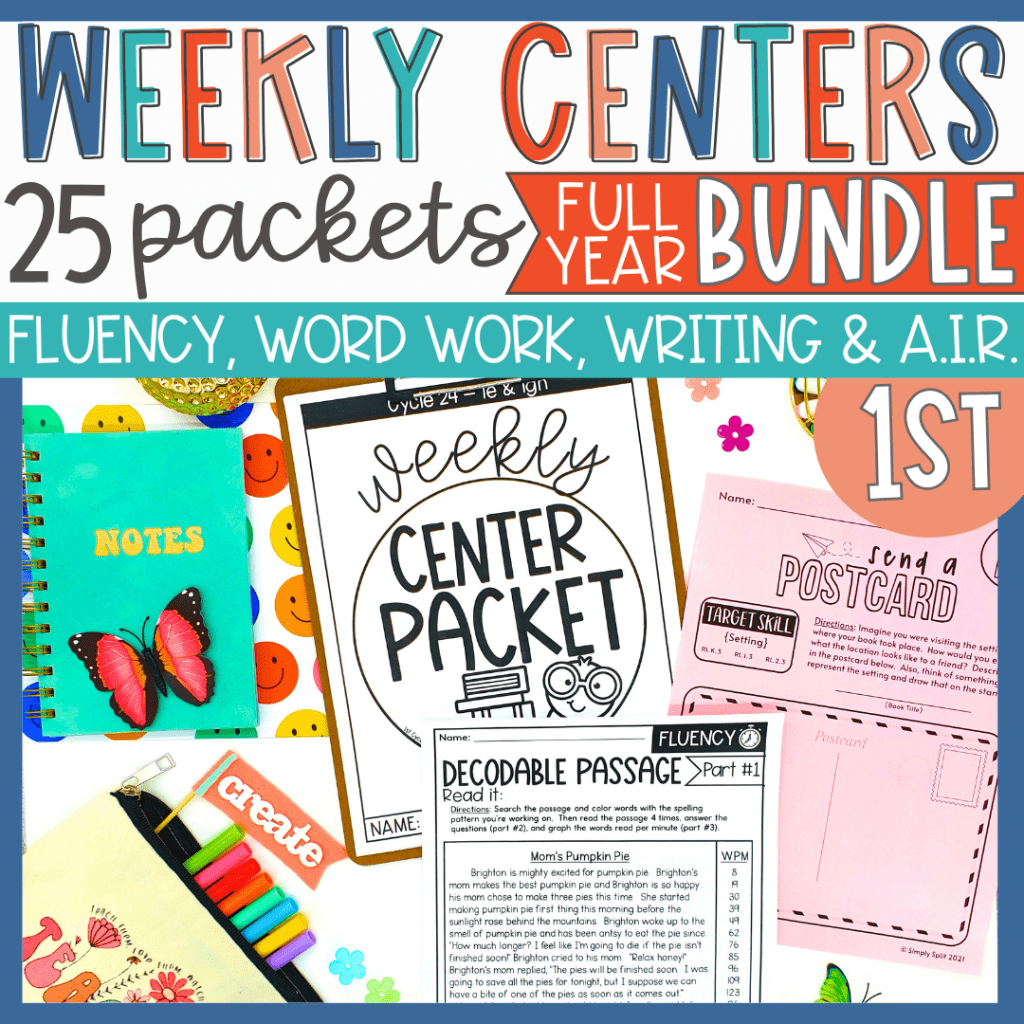


BUT, did you know that there is a template of these weekly packets that you can use to build your own center activities as well. This means that if you have a different scope and sequence you follow, you can buy the centers that match, and then buy the template to create the remaining packets you need. This also means that you can purchase the template to build packets for a different grade level.
Check out the editable template below:

