




EL Skills Block, Literacy Centers, Phonics

Frequently Asked Questions About EL Skills Block

Are you new to EL Skills Block?  Are you having difficulty understanding how Skills Block is organized and set up?  Well, you’ve come to the right place!  Just a few years ago, I was in your shoes, ready to pull my hair out because I was so frustrated and unsure how to make this new program work.  I was frustrated trying to figure out how to make my reading centers align with Skills Block and frustrated trying to navigate all the manuals Skills Block provided.  I have found some great ways to help make this program work for my classroom and am here to share all the secrets I discovered and hopefully, this can help you feel more comfortable as you implement the Skills Block program.  Below you’ll find some frequently asked questions that I hear many Skills Block users ask.

CURRICULUM

If you are a classroom teacher, you may not get a whole lot of say in what will be purchased for your classroom.  Luckily, however, there are ways to make Skills Block bearable with or without the manuals.  It is nice that all of Skill Block can be found FREE on EL Education’s website.  The downside is that it is not extremely user-friendly and can be hard to lesson plan from a digital manual.  I’ll explain the workarounds for Skills Block regardless of your skills situation and ability to purchase all the materials.


  1. K-2 Manuals for each teacher – It would be very ideal to purchase the k-2 manuals for every teacher.  You may not realize the importance to begin with, but when it comes to centers, it is so much easier to lesson plan small group lessons with ALL THE MANUALS.  This is because during small groups, you will differentiate your instruction based on students’ skills.  A 2nd grade teacher might have kindergarten level students in their classroom, therefore, during small groups, they may be teaching a kindergarten lesson to a group.  

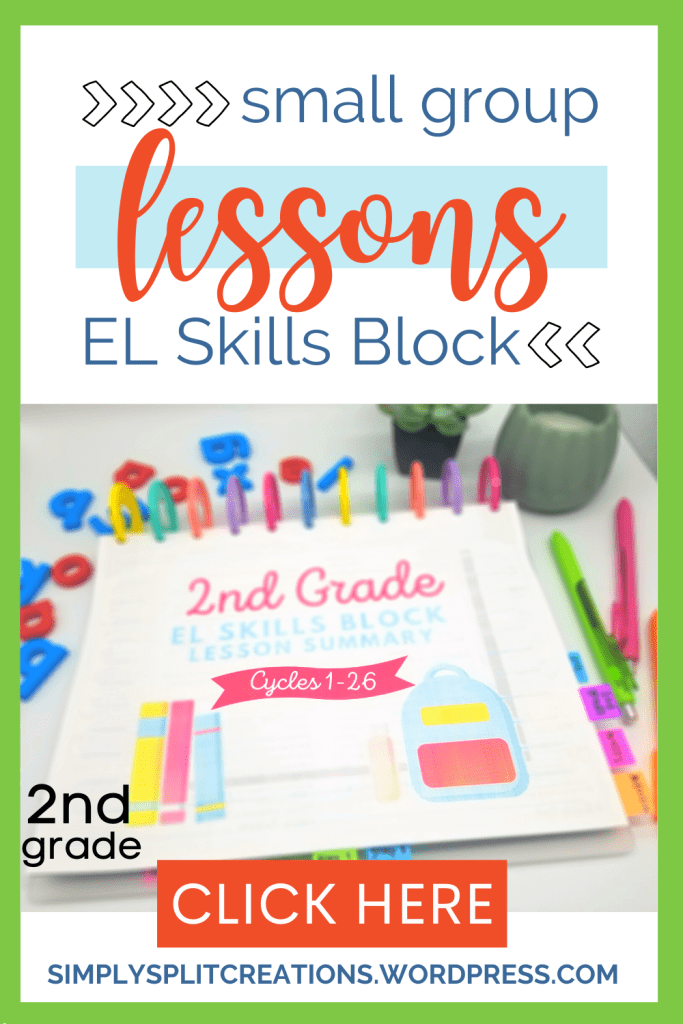
  2. Grade-level manuals for each teacher – The next best thing is to purchase just the grade level manuals for each grade level teacher, meaning the 2nd grade teacher only gets the 2nd grade manuals.  This will help the grade level be able to plan their whole group lessons more easily.  Small groups lessons will be somewhat of a struggle though without having a physical copy of all the lessons you may be teaching.  What I recommend doing is checking out these Skills Block lesson summary resources found in my shop.  I specifically made this resource to help simplify my small group planning time and found it to be so helpful.  You can buy these separately by grade level or buy the k-2 small group bundle that also includes EL’s phonics assessment along with data tracking documents.  With the use of the small group lesson plans, I was able to easily find the lesson that each group needed during small group time by keeping them all in one binder.  This makes it nice to not juggle between 20+ manuals.  It has all the information you need in a simplified format making it easy to follow along.  I have gotten to a point where I no longer plan small group lessons beforehand and I don’t prep any materials.  During small groups, I can now look at the title of the activity and adapt it to work with just whiteboards. The small group lesson plans are definitely an economical way to access EL’s materials AND will save you lots of lesson planning time.  Links can be found below.

  3. Don’t have funds to purchase any manuals?  –  Not a problem!  All of EL’s lessons can be found online.  I highly recommend downloading all the manuals and materials and organizing them into google drive.  This way you can access the lessons from anywhere and easily print materials without having to navigate through EL’s website constantly.  Also, like mentioned above, I definitely recommend getting the small group lesson plans especially if you aren’t purchasing any manuals.

K-2 Small Group Lessons Bundle + Reading Assessment Phonics Screener

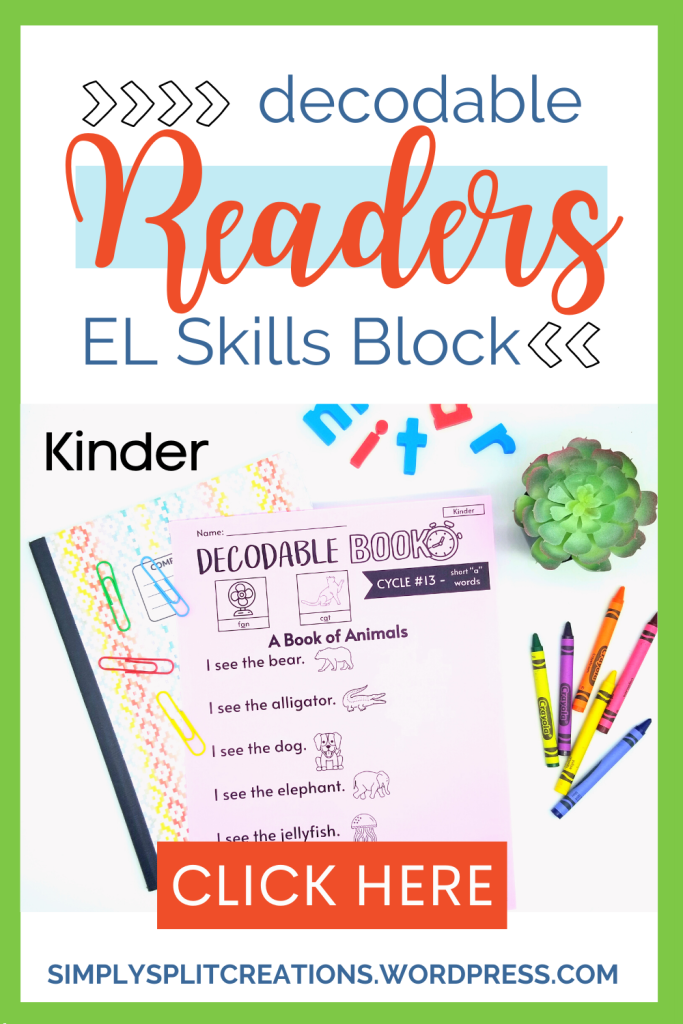
The consumable decodable books are a nice idea.  It’s cool that students can write in them and take them home to read more later.  However, in my experience, students don’t appreciate them or care about taking them home.  Plus, they are expensive and hard to store.  I recommend using the printable version that EL provides on its website.  These are easy to print and can still be written on and taken home, but are much cheaper.


If you are finding that you are using too much paper printing the decodables from EL’s website, I have a solution for you.  I re-formatted EL’s decodable books to fit onto one page to help save paper.  I have also included some practice words with the phonics skill for each cycle at the beginning of the decodable.  These are sold separately by grade level, plus there are some k-2 bundling options. Check them out below:

K-2 Decodables Bundle
K-2 Decodables Bundle + AIR Reading Response Sheets

TIP

If your school decides to purchase the consumable books after all, the easiest way I’ve found to store the books is in clear sterilite storage boxes.  The consumables fit perfectly in the sterilite storage boxes on its side (spine up).  To make it easy to find the books, place the first book of each cycle vertically.

All of EL’s manuals can be very overwhelming at first.  It can be tricky to figure out which manual a particular cycle or lesson is found in and it can be hard to navigate where the lessons actually are.  I recommend putting stickers on the spine of each manual.  I put 2 stickers on each spine.  One sticker is numbered in the order the books should be used.   For example, module 1 book 1 would be labeled #1, module 1 book 2 would be labeled #2, module 2 book 1 would be labeled #3 etc.  This can really help you keep all the manuals straight.  The other sticker I put on the spine says which cycles are included in that particular book.  For example, module 1 book 1 contains cycles 1 & 2, module 1 book 2 contains cycles 3-5 etc.  This is really helpful when it comes to planning small group lessons.


Next, I suggest using sticky tabs to tab each cycle and lesson in each book (also write the cycle number and lesson number on each tab). This will help you quickly find the lesson you need to teach and help you find the cycle words quickly. 


FYI:  If you’d like to have the cycle words all in one place or a premade cycle word list to send home to students, check out the EL cycle word lists I made.  They are sold separately by grade level, plus there is a k-2 bundle.  Check them out below:

TIP

Tab each lesson starting with the back of the book.  This will help you line up your tabs more easily (trust me!)

TIP

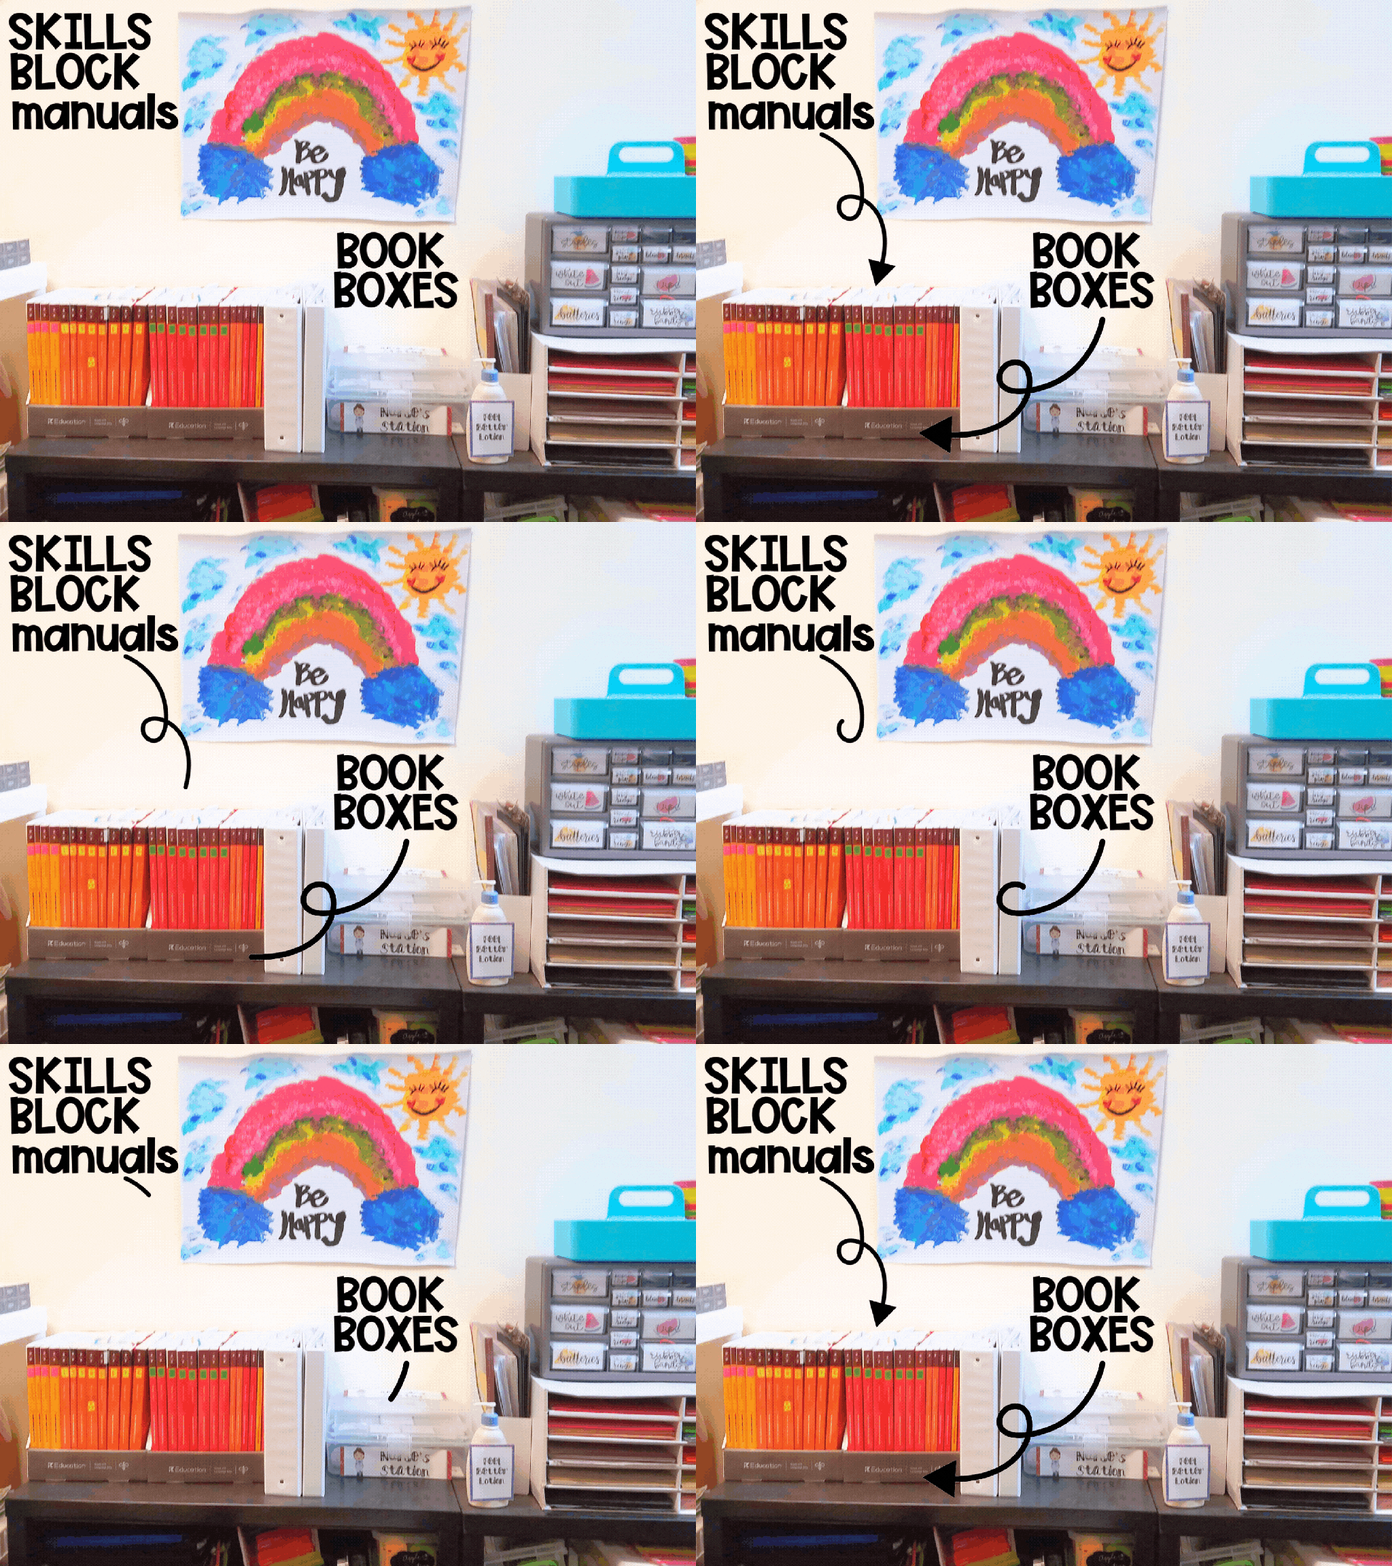
Keep the boxes the manuals come in.  This makes it really nice to store them on a bookshelf or table. (SEE PICTURE)

There are several manuals for each grade level.  There are about 8 per grade level.  There are a few cycles included within each manual.  There is also a resource manual that includes the assessment and other activities (read the section below titled “What’s in the resource manual” for more information).  

There is a summary of each cycle just before all the lessons within that cycle.  The cycle words and high-frequency words for that cycle are listed on the first page of the cycle summary (SEE PICTURE BELOW).

All of the materials provided by EL for the lessons will be found at the end of each lesson.  They can be printed from the PDF manual, copied from the hard copy manual, or downloaded individually from EL’s website.  It is helpful to have all of the documents from EL’s website downloaded and uploaded to google drive or whatever file storage system you use.  This helps to save at least a little bit of time in the long run. 

TIP

I would not recommend printing every lesson material provided by EL.  It can be a pain to prep.  Most activities included in each of EL’s lessons can actually be adapted to work with students using whiteboards.  If you are low on prep-time, definitely figure out which activities work well on whiteboards (without printing the materials) and which ones you actually need the printed materials for.  This will help you save a lot of time.

The resource manual is where you’ll find EL’s assessment.  The resource manual also includes an activity bank.  The activity bank is full of games and activities you can use perhaps during small groups or as an intervention to help with a particular skill.  Most of these activities require a good amount of prep.  

ASSESSMENT

The most important thing to note about the assessment is that it is the KEY to reading centers.  The assessment is what you need in order to form reading groups and it helps you know which cycle each group needs to work on.  Students may be taught a curriculum from another grade level.  For example, the assessment might show that a 2nd grader is below grade level and therefore should be taught a 1st grade lesson in small groups.  I have a whole blog post all about Skills Block’s assessment, which you can read by CLICKING HERE.


I also have created a more user-friendly version of EL’s assessment that includes data tracking documents which will help you measure student growth easily.  You can check that out by CLICKING HERE or clicking on the image below.

CENTERS

The first step is to complete the assessments which will help you systematically form reading groups.  The most important assessments to complete in order to figure out each student’s microphase are the decoding & spelling assessments.  Once you have each student’s microphase, group students within the same microphase together.  Then plan your actual center activities.

The centers that EL suggests to include are below:

  • Fluency
  • Word Work
  • Writing
  • Accountable Independent Reading (AIR)
  • Teacher-led small group lesson

I have seen different schools approach centers differently.  Some schools will make centers geared towards whatever cycle is being taught in whole-group and then use small group time to teach differentiated lessons based on each group’s microphase.  However, I find this approach not to work as well because students aren’t able to get adequate practice on their individual level.  I find it better to differentiate activities for each group based on the microphase and cycle each group is on.  This helps meet students’ needs and students are able to work independently more easily because they are actually doing work on their own level.  This can seem overwhelming to prep all the differentiated work, but I promise I have some simple suggestions to make your life easier.  You can see these suggestions under the “What activities can I use in my centers that align with Skills Block” section.

EL provides an activity bank which can technically be used for centers, however, in my opinion these activities are not feasible for a few reasons:

  • First off, the activities require quite a bit of prep which is not feasible especially if you are differentiating for each group’s specific cycle.
  • Secondly, the activities are not sorted by center type (fluency, word work, writing & AIR). This makes it hard to know which center is the best to put each activity in.
  • Lastly, the activities are not labeled by grade level or cycle number.  This requires you to match the skill with the correct cycle which is especially difficult to do for teachers new to Skills Block.

If you need some ideas for centers, keep on reading – I’ve worked hard to try and make Skills Block be a little easier for you.

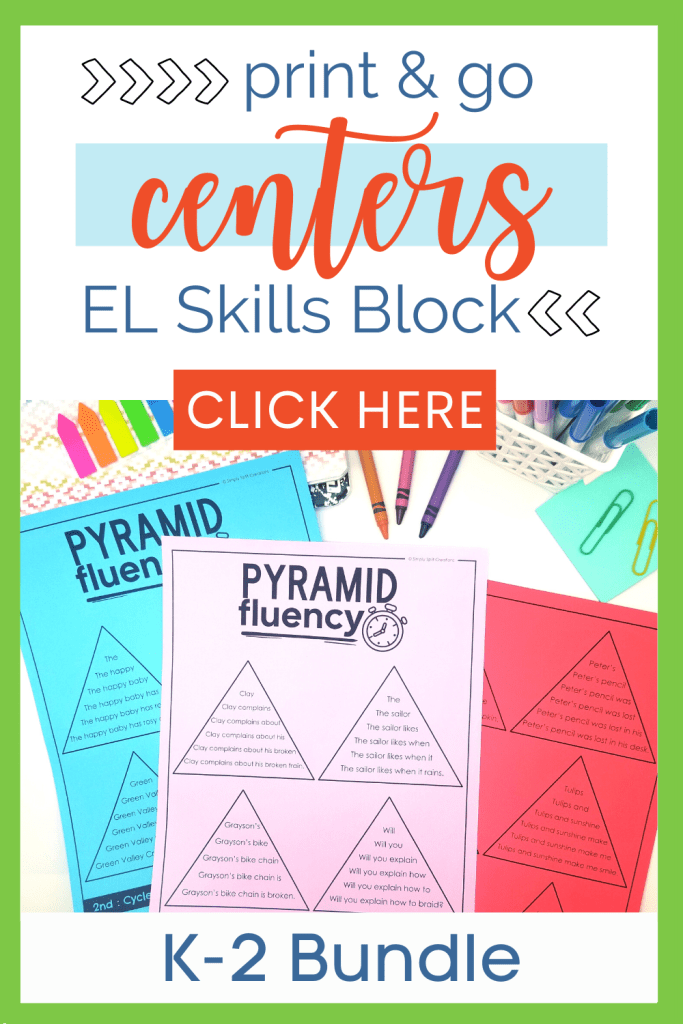
I have spent years (literally-since 2018) working on materials to make Skills Block be a bit easier for myself and other amazing teachers.  My main focus has been to help make Skills Block centers easy to prep as well as effective for students so they can grow throughout the program.  I have many options you can choose from that all align with Skills Block and continue to create more and more resources to help you out.  The bundle I recommend the most is my LOW PREP growing bundle.  This includes a bunch of print and go activities that all align with Skills Block that are perfect for centers.  I have these listed by individual grade level as well as a K-2 bundle.  The K-2 bundle is heavily discounted and makes it really easy to differentiate.  The really cool thing is that this is a GROWING BUNDLE meaning that you’ll pay a lower price now, but gain access to new resources that will be added.  I will continue to add more and more resources to this bundle that are low prep and align with Skills Block.  As I add more products, the price will continue to go up, but you gain access to them as they are released without paying extra.  You can check out these links below:

Click to view the K-2 Print and Go Centers Bundle

I have also created a buyers guide to make it easy for you to figure out which resources would best fit your needs.  This buyer’s guide is constantly being updated as new resources are released.  You’ll find great resources for ALL CENTERS for Skills Block.  You can check out the latest version of my buyers guide by CLICKING HERE or below:

I hope this blog post has been helpful to you as you try to navigate Skills Block.  If you have questions that weren’t mentioned in this post, feel free to drop them below and I’ll do my best to briefly answer them AND I may also include a more detailed response in upcoming blog posts.  Make sure to follow my blog so you can be notified when new blog posts are released. You can also join my email list AND get the FREEBIE pictured below — the K-2 Scope & Sequence for EL Skills Block. Click below to gain access to this FREEBIE.

EL Skills Block, Literacy Centers, Phonics

10 Engaging Flashcard Games For Phonics Instruction

If you were anything like me growing up, the thought of using flashcards was always tedious and boring. Despite it being a boring way to study, it was always effective for me and helped me ace my tests. When it comes to young students, the last thing in the world we want to do is make reading “boring.”  Instead, a good teacher wants to find ways to engage students while they are learning to help ignite the love of learning inside their heart.  Helping students to specifically enjoy their reading instruction time will help them grow their love of learning.  If they love books and reading, they will be able to learn through reading.  

So how do you get the effectiveness of flashcard practice AND engage those young readers?

Well buckle up and keep reading to learn just that.

Maybe you’re skeptical about the effectiveness of flashcards and that’s okay, it’s good to ask questions and do your research.  The truth is that repetition actually helps to build confidence1.  And once students gain that confidence, they start to like that topic more and more and trust in their abilities.  AND when using spaced repetition to practice flashcards, they become more and more effective because it helps students actually retain what they’re learning.  So what is spaced repetition2?  An example of spaced repetition would be using flashcards to practice a concept for a short period of time daily rather than spending an hour once a week to practice.  

So are flashcards really effective? The answer is YES! Flashcards are very effective because the repetition helps to build confidence and using spaced repetition can help students retain the knowledge much easier.  However, because of the repetition, flashcards can also be somewhat boring.  So now let’s get into how you can actually make flashcard practice engaging and meaningful for students to practice phonics spelling patterns.

This seems like an obvious answer but make a game out of it!  Games are engaging and your students won’t even realize they are learning.  I have 10 different games you can use to play with phonics flashcards.  I’ll share my top 3 favorite games in this blog post and you can download and have access to the rest of the games by CLICKING HERE.  

This is a very simple but engaging game that is very easy to prep.  This can be done on a table (during small groups) or on the floor in an open area.  I personally like doing it on the floor in an open area.  You can use premade phonics flashcards or you can write spelling words or high-frequency words on either index cards or full sized papers. Then scatter them all on the ground or table face up. Finally, choose a word to read aloud.  Each of the students will then scan through the words and “attack” the word that was read aloud. “Attacking” the word, simply means, slapping near the word (if on a table) or standing near the card if on the ground. You can do variations of this activity by saying something like “Find a word that rhymes with play” or “find a word with the same spelling pattern as spray.”  You can also have students take turns calling out the word for them to attack.  

My students love this game, and it’s a great movement activity that helps with my hyperactive students as well.

This is a fun game to get those creative juices flowing.  This works best in a small group setting with small premade flashcards.  Pass out 7 cards to each student and place the remaining cards facedown on the table. All the players will work together to tell a story.  Players will look at their cards, reading the words and think of a way to incorporate a card (or cards) into the story.  The player who thinks of an opening storyline first, can begin and players will take turns going in a circle clockwise.  A player can add 1- 2 sentences at a time incorporating at least one card from their hand and discarding those cards after they are used.  After discarding their used card(s), players will draw a new card(s) so they always have 7 cards.  The game is over once the players feel the story has ended OR when they run out of cards.  

Those creative students will LOVE this game, but you may have some reluctant students.  I recommend working with your reluctant students at first and sharing your cards.  You can both work together to think of a sentence to add.

This is a fun one to also practice vocabulary.  You will need whiteboards and dry erase markers for all students participating.  This works best in small groups.  Lay out several flashcards face up on the table.  Randomly pick a word that is face up and think of 2-3 clues to describe the word.  Slowly give your clues to the students.  The students will look over all the words that are face up and decide which word it is that you’re describing.  When they think they know the word, they’ll secretly write the word on their whiteboard.  Once everyone has written a  guess on their whiteboard, the students will reveal their whiteboards. Students get 1 point for guessing the right word and a bonus point for spelling it correctly.  

Your students will love this game!
To check, see the printable game rules for these 3 games PLUS 7 additional games you can play with phonics flashcards, CLICK BELOW


There are a lot of flashcards out there.  There are phonics flashcards, there are sight word flashcards or high-frequency word flashcards and honestly YES any word flashcards can be used with these activities.  I do however have flashcards that I recommend that are amazing for 1st and 2nd grade leveled students.

Here’s what I love about these phonics decoding flashcards.

  1. There are 3 differentiated levels
  2. They can be printed in various sizes
  3. There are many multisyllabic words giving students just the practice they need (plus the 3 differentiated levels can help struggling readers also practice multisyllabic words)
  4. There are so many word options (40 per set – which makes 1,000 for 1st & 1,040 for 2nd grade)
  5. The phonics skill practiced in each set is notated on each card making it easy to find it’s home if a card is misplaced
  6. There are so many phonics spelling pattern options

Yes I am a bit biased because I did make these cards myself, but these are helpful features that you won’t see in other phonics flashcard options.  Check out the video below to see the 1st grade phonics flashcards in action.
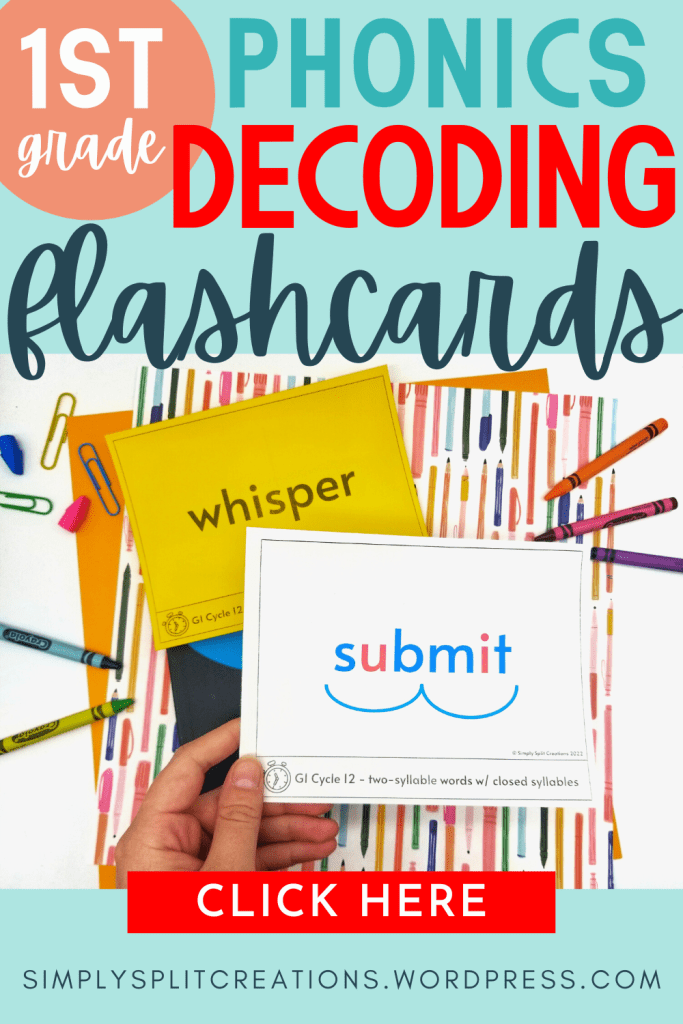
There are lots of purchasing options.  You can purchase based on the specific phonics skills you want or you can bundle and save.  CLICK HERE to view all the phonics flashcards available.

References

  1. https://www.nwtutoring.com/2019/10/07/confidence-comes-from-repetition/
  2. https://www.nwtutoring.com/2016/01/04/spaced-repetition/