Organization, Teacher TIps

How to Build Your Own Teacher Planner

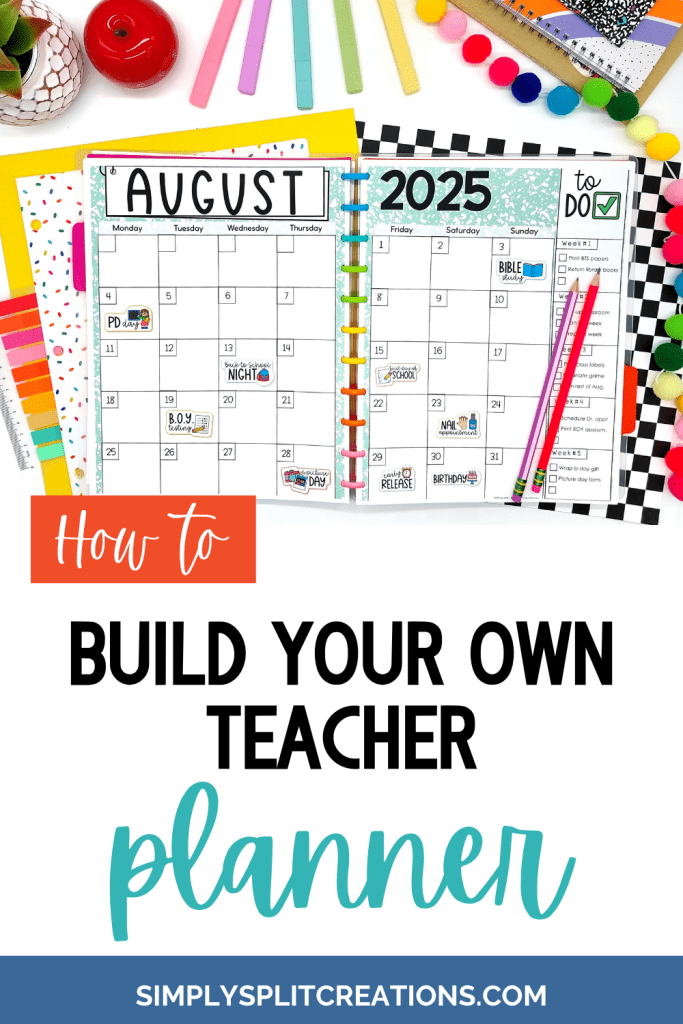
A colorful planner open to August 2025, displaying a monthly calendar layout with event stickers, beside decorative items like pens and a plant. The title reads 'How to Build Your Own Teacher Planner'.

Lesson planning can be such a chore, which is why it’s important to find a system that actually works for you.  Most teacher planners include pages I don’t need & lack the pages I do need, which is why my life changed when I finally found a way to build my own teacher planner with exactly the items I need.  This makes my lesson planner a lot smaller to lug around, more personalized, and easier to use.

Find a Printable Digital Planner

First, you need to find a printable digital planner that works for you.  There are lots of great options on TPT.  I recommend finding one that has all the components you’re looking for.  I created a big teacher planner that includes lots of great options.  You can purchase the full bundle or just grab the areas you want.  It includes…

  • LESSON PLANNER & SCHOOL YEAR CALENDAR (curriculum mapping, monthly checklists/goals etc, month at a glance, year at a glance, batch lesson planning, class schedule, important dates, specials class schedule, digital stickers, & more)
  • PLANNER COVERS, SECTIONS, & TABS ( 60+ customizable cover options, premade & editable section pages & tabs)
  • TEACHER ESSENTIALS (to-do lists, student checklists, class list, grading, party planning templates, class birthdays, volunteer sign-up sheets, parent communication forms, goal planning, PD tracking, notes, student seating chart template, passwords, & more) 
  • SMALL GROUP PLANNER (reading & math group formation, small group lessons, small group notes, etc.)
  • FIELD TRIP PLANNER (brainstorming ideas, field trip planning notes, transportation planning, field trip schedule, chaperone guide, emergency sheet, student list, student name tags, etc.)
  • SUBSTITUTE PLANNER (class schedule, specials class schedule, classroom management plan, sub plans, emergency protocols, emergency phone numbers, etc.)
  • PERSONAL PLANNER (weekly family schedule, grocery list, meal planning, gift planner, b-day list, book/movie/TV show recommendations, healthy habits tracker, nutrition & wellness, etc.)

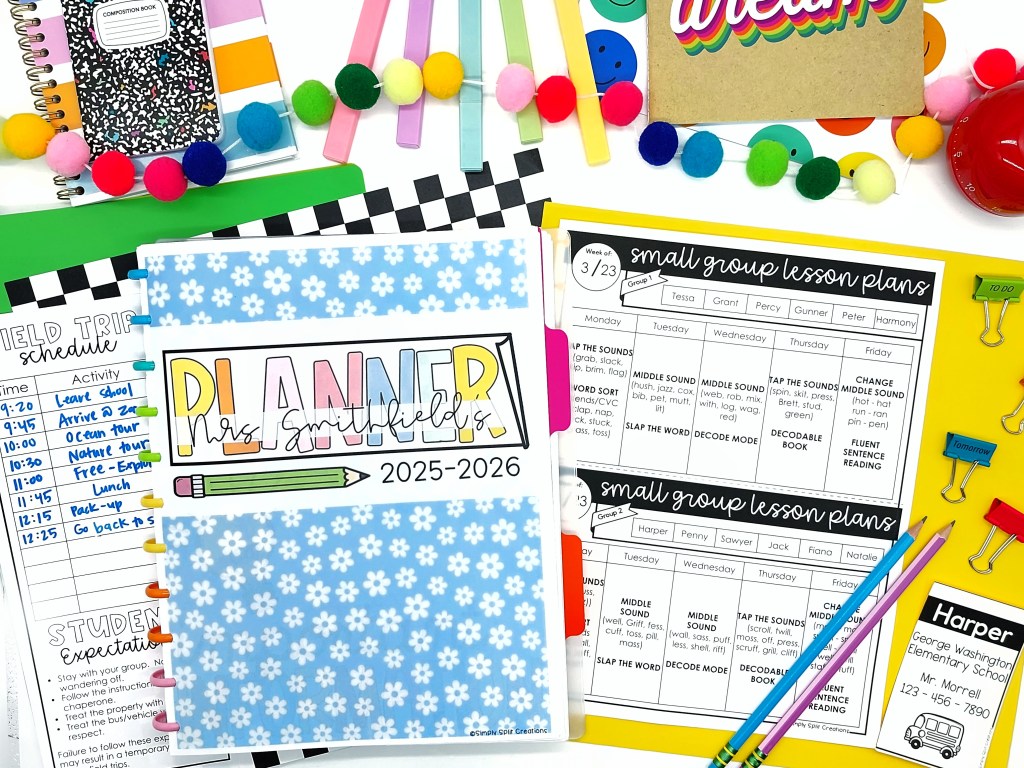
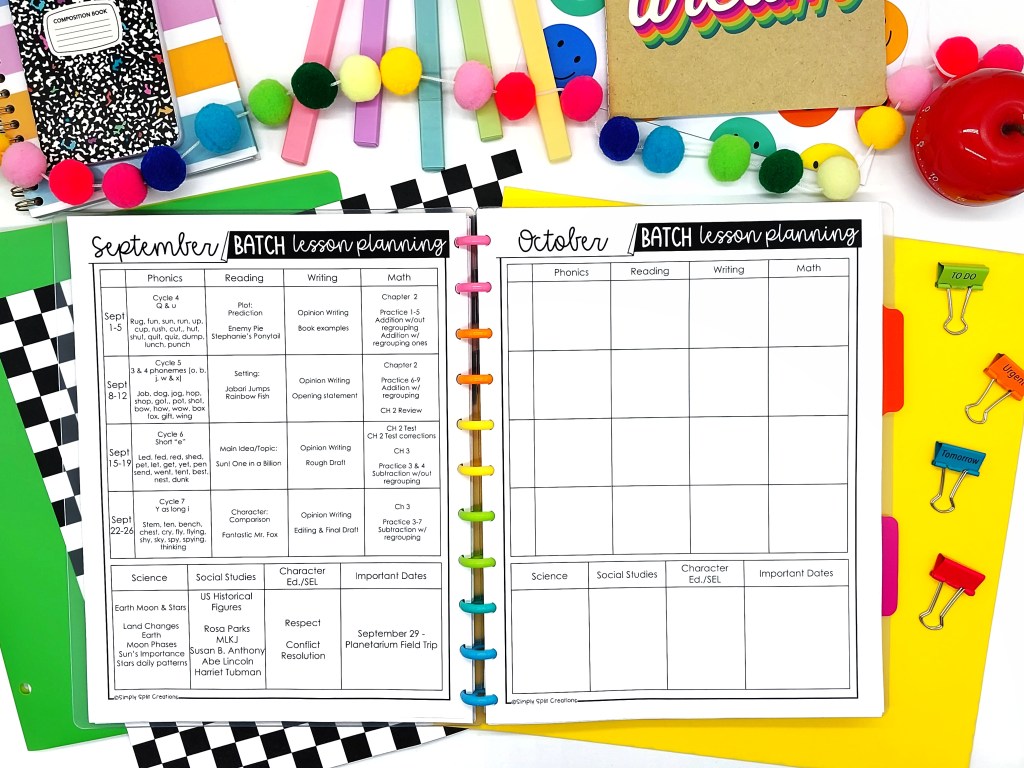
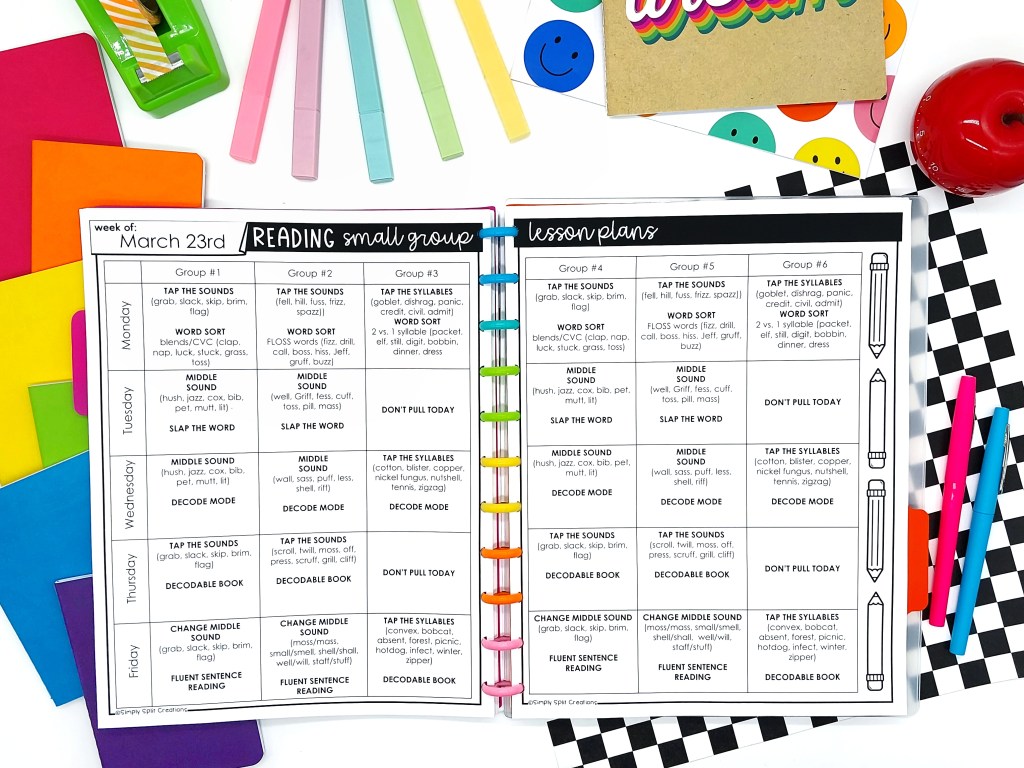
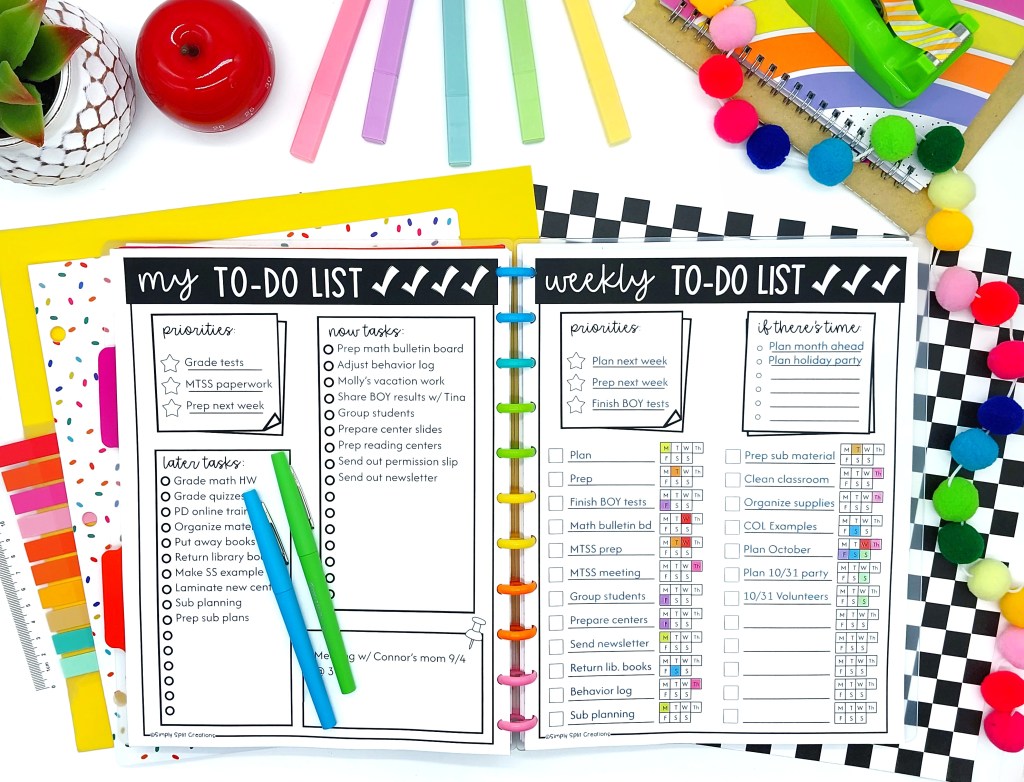
Below are some of my favorite pages from the planner:
How to Build Your Planner

You’ll need to decide what materials you want to use for your planner.  Below are some options (listed in my favorite order). 

  1. Disc Ring Binder:  This is my FAVORITE option!  You’ll need to purchase a few items to make this work, but it’s super durable, easy to add or get rid of pages, as condensed as you make it, plus it turns out really cute!  I’ll go into detail below about what items I use to build my disc ring teacher planner.  You can even re-use the materials year after year.
  2. Binder:  This option works well too and is easy to add or remove pages.  The downside is that it is super bulky.
  3. Spiral Bound:  This can be expensive and is a more permanent option.  It doesn’t make sense to figure out how to add pages, but you can remove pages if needed; it just might take some time to remove several pages.  This is very slim and easy to carry around, though, plus it looks really cute and professional.
  4. Folder:  A folder only really works for an extremely small planner.  If you just need a few items, this can work out really easily with a binder hole punch.  The downside is that it can be difficult to keep a particular page open.

Disc Ring Binder Supplies

  1. Digital/Printable Planner:  HERE’S A LINK to the digital/printable planner I made.
  2. 11 Disc Binder Hole Punch:  HERE’S A LINK to the hole punch I use. HERE’S A LINK to a more affordable option.
  3. Discs:  You’ll want to decide how many pages you think you will be printing so you know the size of disc rings you will need.  Below are the links to my favorite options for various sizes.
    1. 1in = 80-100 pgs (160-200 pgs if double-sided)
    2. 1.5in = 175-250 pgs (350-500 pgs if double-sided)
    3. 1.75in = 250-280 pgs (500-560 pgs if double-sided)
    4. 2in = 280-330 pgs (560-630 pgs if double-sided)

*Keep in mind that if you use cardstock paper or a heavyweight paper, you may not be able to fit as much paper in your planner.

Extra Supplies that are Helpful

  • Disc Transparent Covers:  You can simply laminate your cover page, but if you want your planner to be more durable, I would recommend using a 10 mil laminating pouch, OR, getting the transparent disc covers.  HERE’S A LINK to the ones I use.  
  • Disc Paper Pockets:  If you like storing other papers in your planner, it can be really nice to have a pocket in your planner.  HERE’S A LINK to the pockets I use in my teacher planner.
  • Month Sticker Tabs:  If your planner doesn’t come with printable tabs, or you just don’t want to print and cut your own tabs, I would recommend using these month sticker tabs.  HERE’S A LINK to the month sticker tabs I have used.
  • Pen Holder Adhesive:  I love keeping a pen or pencil with my planner, so this pen holder adhesive is a must in my opinion.  You can grab a pack and use them year after year, or you can reuse the same transparent cover & pen holder on your planner each year.  HERE’S A LINK to the pen holders I use.

Printing Tips

  • Print the calendar on cardstock:  I like having a heavier feel to my calendar pages.  I use cardstock for the calendar pages as well as my cover page.
    • If you want to add pages in between the cardstock calendar pages, DO NOT PRINT THEM FRONT & BACK.  Instead, you can add pages in between the calendar months manually after printing.  You can tape the calendar pages together to the next page so that the pages flow more nicely if the blank pages bother you.
  • Duplicate one document to build your printing file:  You’ll want to duplicate or make a copy of the planner, then copy & paste the pages in the order that you want them to appear in your planner.  This helps you be able to print front & back.  If there are pages that specifically need to print on the left page or right page, you’ll want to pay attention to that when printing so that they line up nicely.  You can add a blank page if needed to fill in as a placeholder.  You can assign ODD numbers to appear on the LEFT SIDE and EVEN numbers to appear on the RIGHT SIDE or vice versa.
  • Test Print:  I recommend test printing a couple of pages to make sure they are lining up the way you want them to in your planner. 
  • Think before you punch holes:  It can be super easy to punch holes on the wrong side of your pages.  I recommend lining the pages up and test “opening” the pages before actually hole punching them.  This way, you can make sure you are happy with how the pages will lay in your planner.

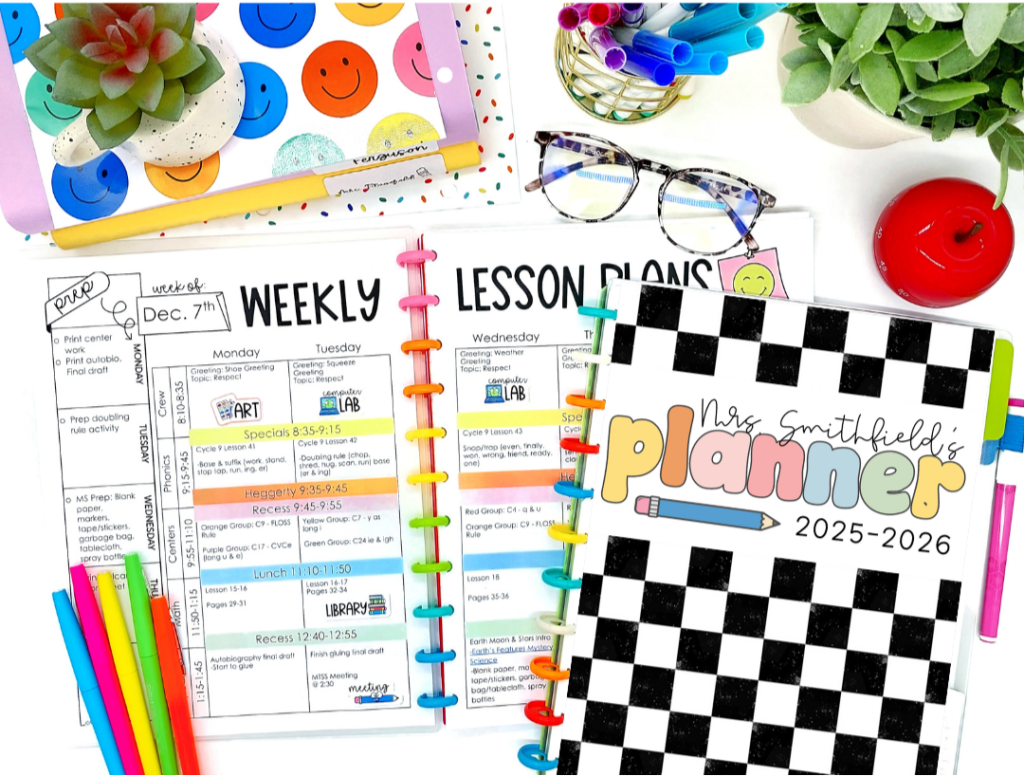
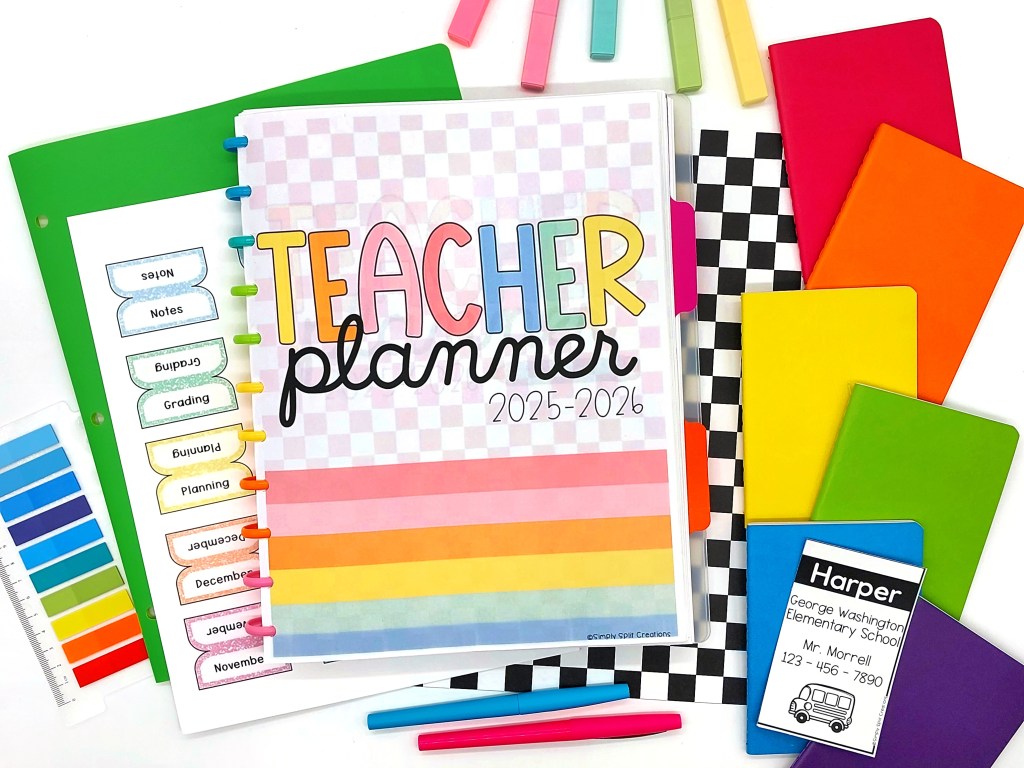
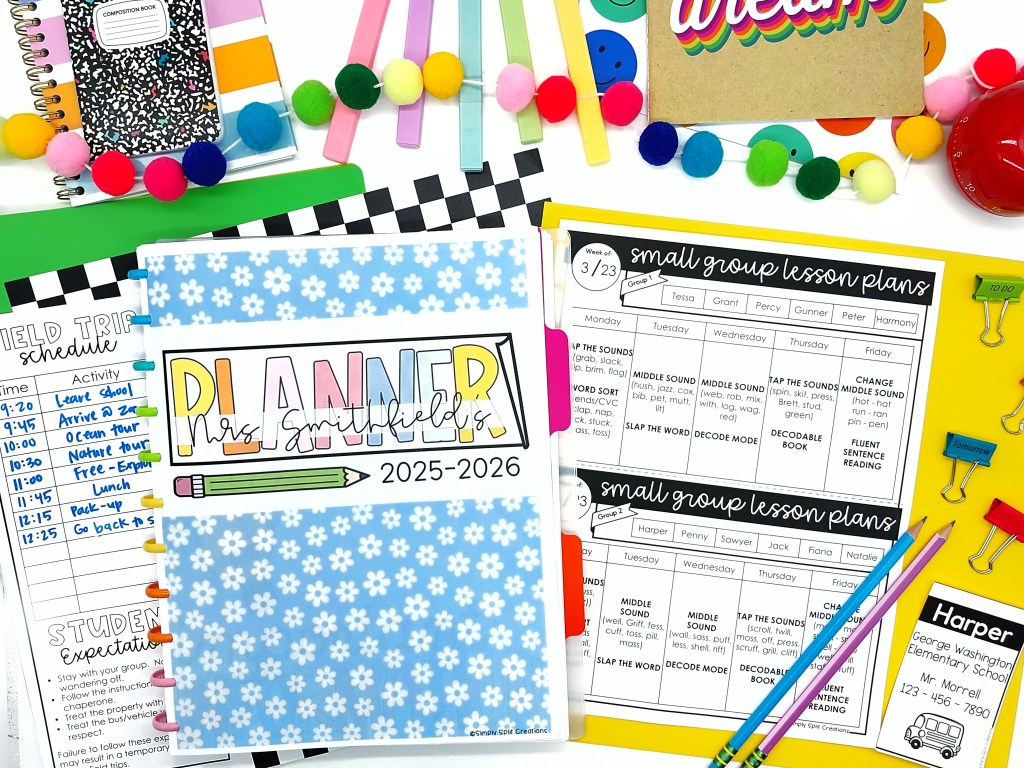
Below are a few pictures of the final product.

Teacher TIps

5 Tips for the End of the School Year

The end of the school year can be a really stressful time.  Many teachers become beyond “burned out” and can barely hang on, which is why I wanted to share my top 5 favorite tips for the end of the school year.

It’s important to make sure you find ways to save both your time and sanity.  My top tip is to have your students help you with the end of the year clean up.  After the testing is all done and the standards have been taught, rather than wasting time watching a movie, enlist your students to be helpers.  I promise your students will love helping out and it will be a great way for students to get their energy out (since we all know that summer fever is very real and makes it hard on teachers).  Most of these tasks, I would recommend doing on the last 1-2 day(s) of school.

My students always love helping to complete these tasks and they get them done quickly.

You can download and print this list by CLICKING HERE.

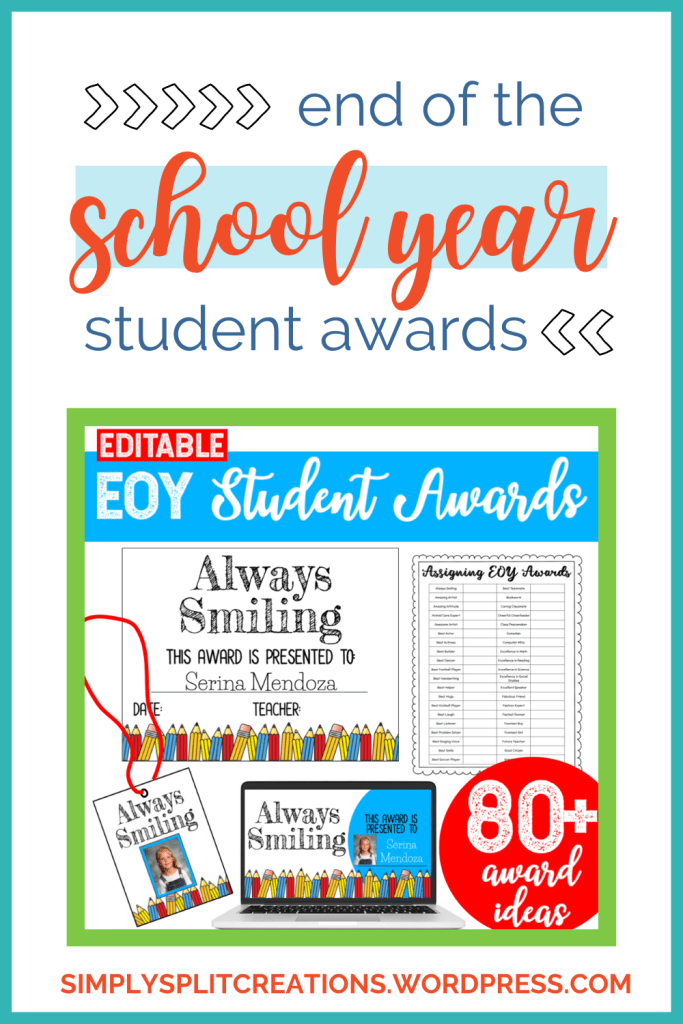
I think it’s really important to help our students feel happy and appreciated at school.  Having positive interactions at school can impact a student’s whole life and can help them always enjoy learning.  For this reason, I try to make the end of the year special by giving each student an individualized award (all positive awards).  This has become a tradition in my classroom and my students always love award day.  You may like this idea but may feel a little bit overwhelmed trying to think of different awards for each student and preparing the materials for the “awards ceremony” but don’t fret, I’ve got you covered.

I have created an awards ceremony pack which makes  it easy for you to have your own awards ceremony for your class  without feeling overwhelmed, especially if you’re already feeling burned out.

Here’s what’s included in the awards ceremony pack.

  • Teacher Award List: There are 80+ award ideas included. Quickly assign an award to each student.
  • Student Certificate: This is a certificate to give to students during your award ceremony.
  • Awards Ceremony Presentation Slideshow: Make the ceremony special by using this great slideshow as you present the awards.
  • Student Medal: These are meant to be assembled with a ribbon attached to the top. Students can be awarded a medal along with their certificate during the ceremony.

Look below to see what this award ceremony pack looks like or CLICK HERE to view the whole product description.

Always print a few “paper mini yearbook” alternatives for students that may not have purchased a yearbook.  Students can either have a really great day and feel included or really bummed for not having their own yearbook.  Do everything you can to make all your students feel happy and included.  There are lots of great options for a printable paper mini yearbook on Teachers Pay Teachers.

The end of the year can be such a crazy time.  My first year, I was mad at myself for forgetting to have my students sign my yearbook before releasing them for the schoolwide yearbook signing (don’t make the same mistake as me haha).  Because it can be such a crazy day, I highly recommend pre-typing a personalized yearbook message for all your students.  This can help your students feel special and will be a great memory for them for years to come.  I like to print my typed out message on sticker labels so they are easy to put in each student’s yearbook.  I have seen some teachers type a generic message and print on stickers, but I think it is so much more meaningful to have a personalized message. 

I use Avery labels since they are super easy to make and print.  If you go to Avery’s website you can find the template for the size of labels you have and edit each label with a personalized message.  It doesn’t take very long and goes faster to type vs. writing out the message.  You can download the labels as a PDF when you’re finished and print them on your labels and you’re all set for yearbook signing.

Many schools require student information to be passed on to the next teacher.  This may look differently for each school, but I think some of the most vital information (especially in k-2 classrooms) is how students are performing with reading.  This can help new teachers have a quick idea of how their class is when they start out and they can see if there were significant “summer slide” issues or not.  If there are, maybe they can do something to help with it next summer.  This may be stressful for teachers to deal with at the end of the year so I have a quick solution that I have started doing that has made this process super easy AND valuable for the next teacher to look at.  There’s nothing worse than being handed a bunch of tests and not knowing what they mean.

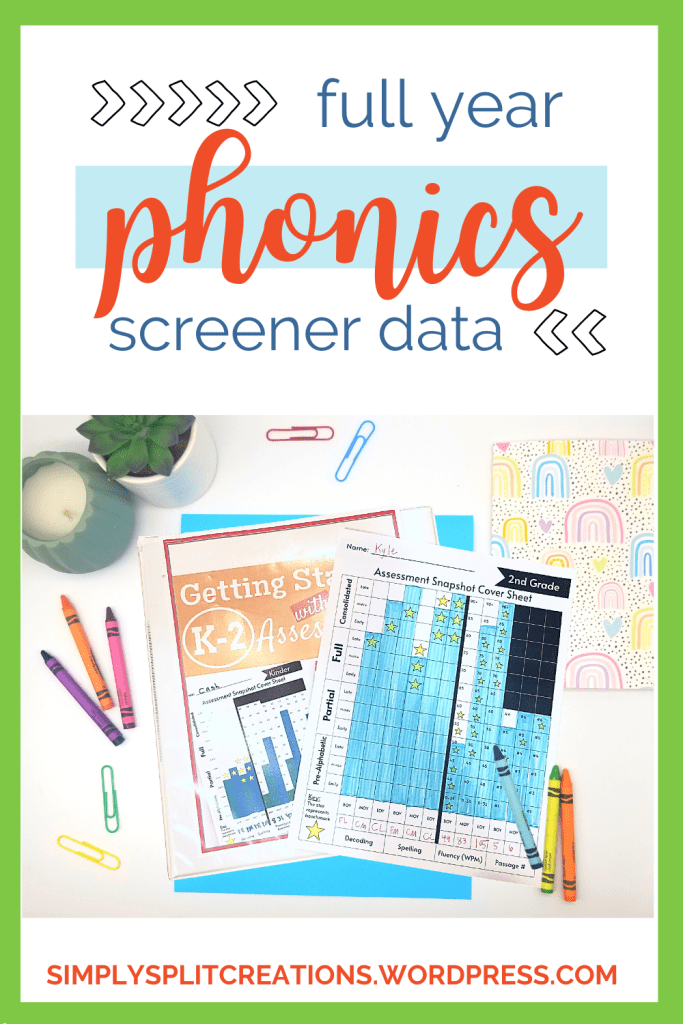
I recommend using this one page (double sided) phonics screener summary.  It shows student growth throughout the whole school year and it is easy to tell at a glance if the student was “on grade level” during the previous school year.  This is not only valuable information to pass on to the teachers for the new year, but it’s also valuable information for you throughout the current school year.  I fill this same one page paper out throughout the whole school year for my students and it helps me analyze how each student is doing and then it’s super simple to just hand it over to the next teacher.  
This is what the one page phonics screener looks like for 2nd grade (don’t worry this is a made up student and not their real data).  The stars mark what the benchmark is for that time of the year making it easy to see if a student is “on grade level” with just a glance.  CLICK HERE to view the product that this phonics screener is included in.

When my students leave on that last day of school, my first instinct is to run out of the building as fast as I can and start my summer vacation. However, that’s not always the smartest thing to do for a couple reasons.  One, your admin probably wouldn’t be very happy with the status of your classroom.  Two, you are setting yourself up for a disaster to come back to next school season. I highly recommend thinking a little bit ahead so your “back to school self” will be happy and make a smooth transition back to school.  I recommend making sure your bulletin board materials are easily accessible.  I also recommend pulling out your papers for back to school night and even making copies of these materials.  The first year I did this, I was so relieved when August came and it helped me feel much more prepared for the coming school year.  I also like to make sure my labels are accessible so I am ready when I get my class list to label all the things.