Going back to school can be a fun and exciting thing, but also a very hard thing. Let’s be honest, we all enjoy some time off. Now, I don’t necessarily have a solution for you if you’re dreading going back to school, but I have compiled some tips to help make back-to-school time smooth, easy, and fun for your students.
1. Prep for back-to-school night early
If you’re a procrastinator (like me 😬), this may be a difficult task for you, but I promise you will be so relieved if you can get your back-to-school prep done early. If I have enough energy and pep, I usually do this at the end of the school year; that way I’m already ahead when I go back to school. It makes the summer a lot more enjoyable knowing that I already have one thing knocked off my to-do list.
I keep all my prepped materials in my handy dandy prepping bin, ready for me to pull back out in the fall.

2. Use Avery Labels
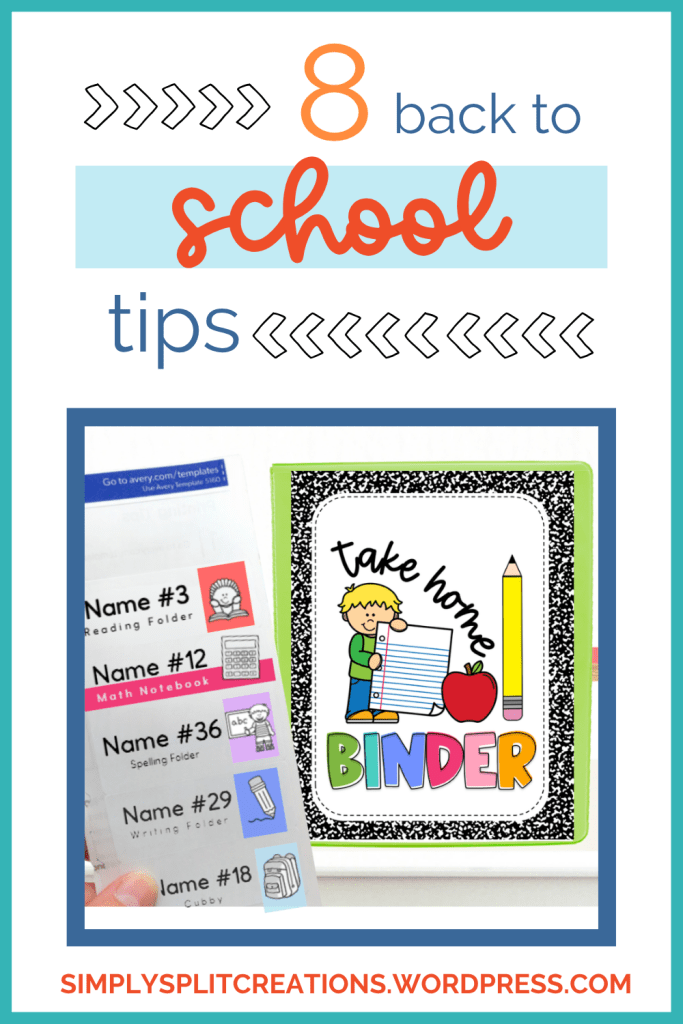
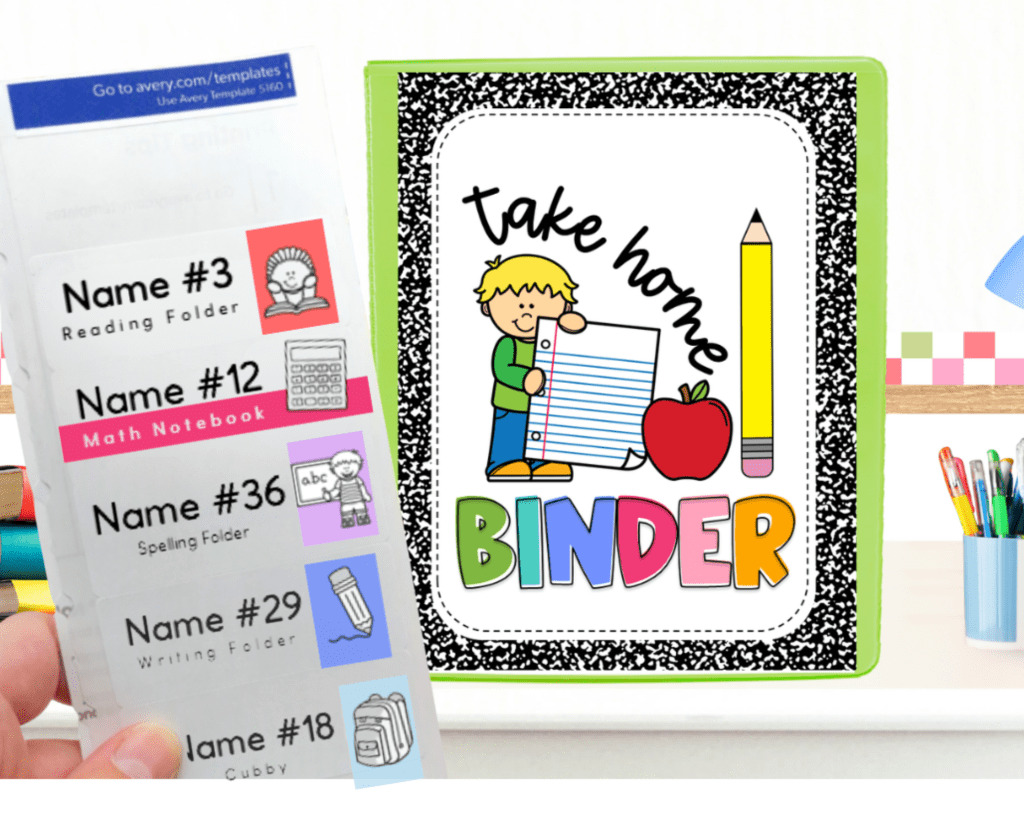
Avery labels are my best friend at the beginning of the school year. They make labeling and adding students’ names to things SOO easy. I use them for student lunch numbers, student name tags, labeling notebooks & folders, labeling my materials “property of…,” and classroom library book genres. Honestly, the possibilities are endless.
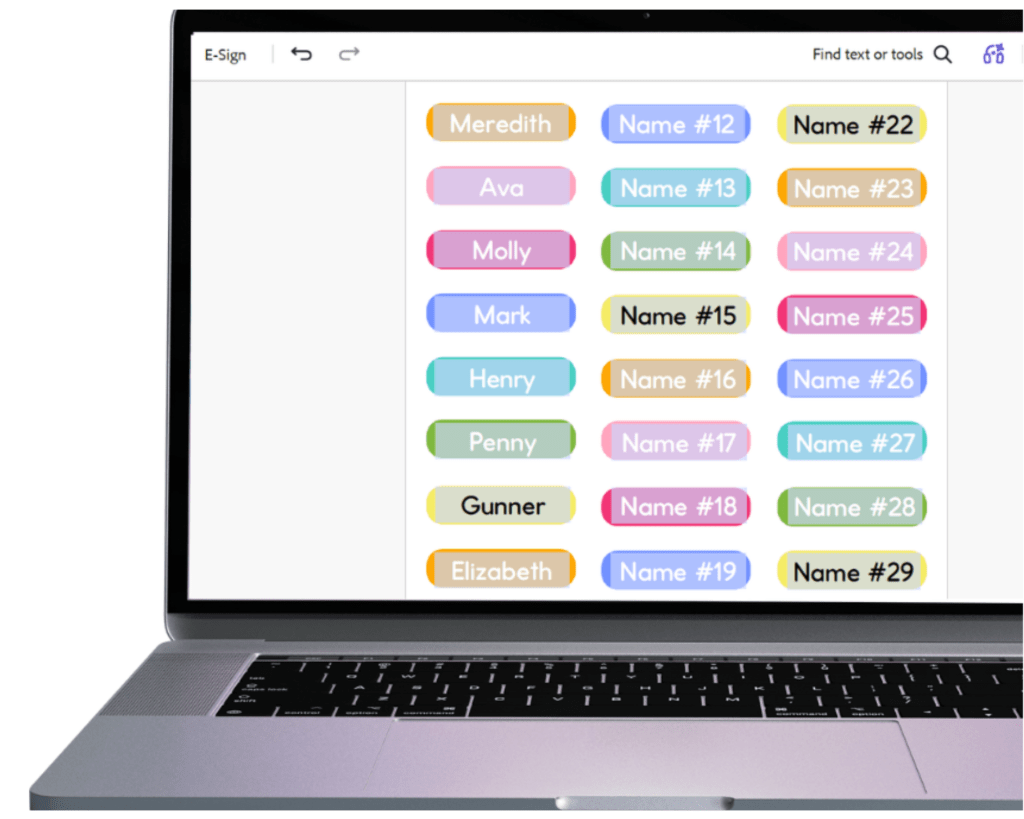
I’m not sure how it works at your school, but we usually get our class list a week or so before school starts, and then the race is on to get everything labeled and ready quickly so I might have a chance to relax for at least a day or two before school officially starts. These student name labels make everything SO easy. I type my class list once, and they autofill to every page! These labels fit on Avery labels #8160, which makes applying them really easy. I just peel and stick them to student materials.
Grab these student name labels to make back-to-school labeling a breeze!
3. Keep Extra Materials & Blank Labels
I highly recommend keeping extra materials on hand with ready-to-go blank labels. This makes it super easy to grab materials for new students you might get throughout the school year. I stick the blank labels right on the materials and store them in my closet just in case. Then I simply write the new student’s name on the label, and they are all set to go.

4. Build Your Student Checklist
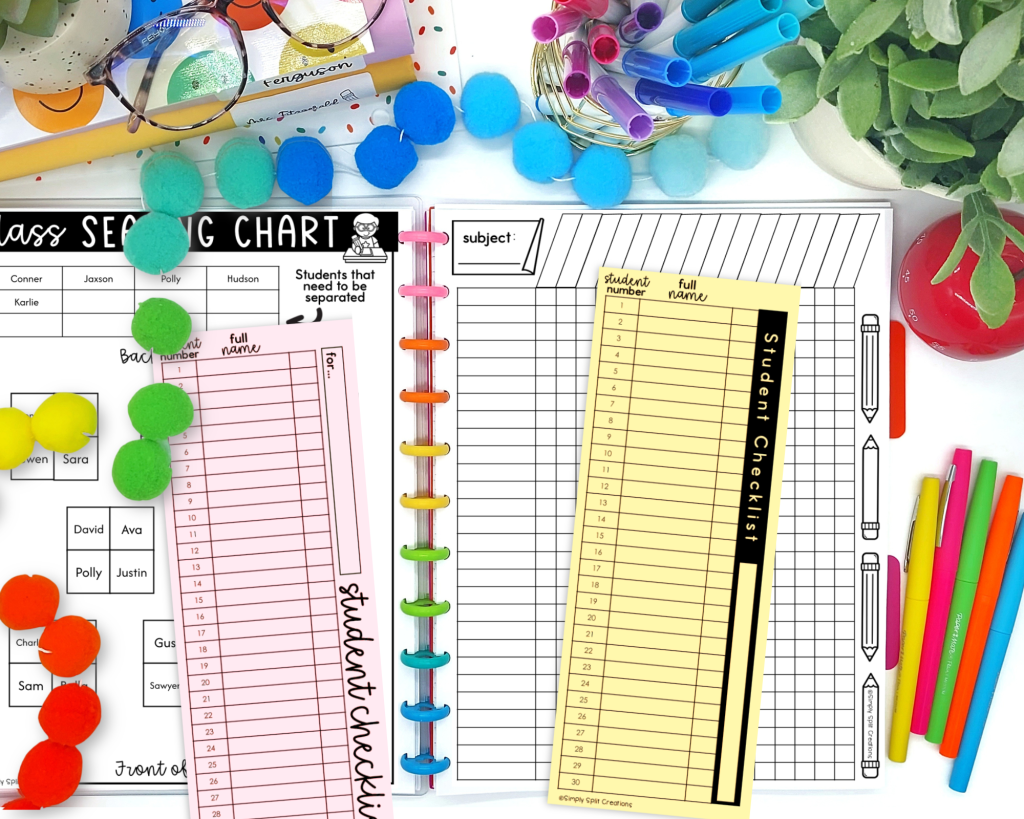
I use student checklists daily, it seems. They are great for grading, building seating charts, field trips, and so much more. I highly recommend creating a student checklist template and keeping a bunch of printed copies on hand. It can save you so much time and be so helpful throughout the school year.
If you’d like a template, check out my teacher essentials pack that includes student checklists, teacher to-do lists and SOO much more!
5. Generic Bulletin Board Subject Titles
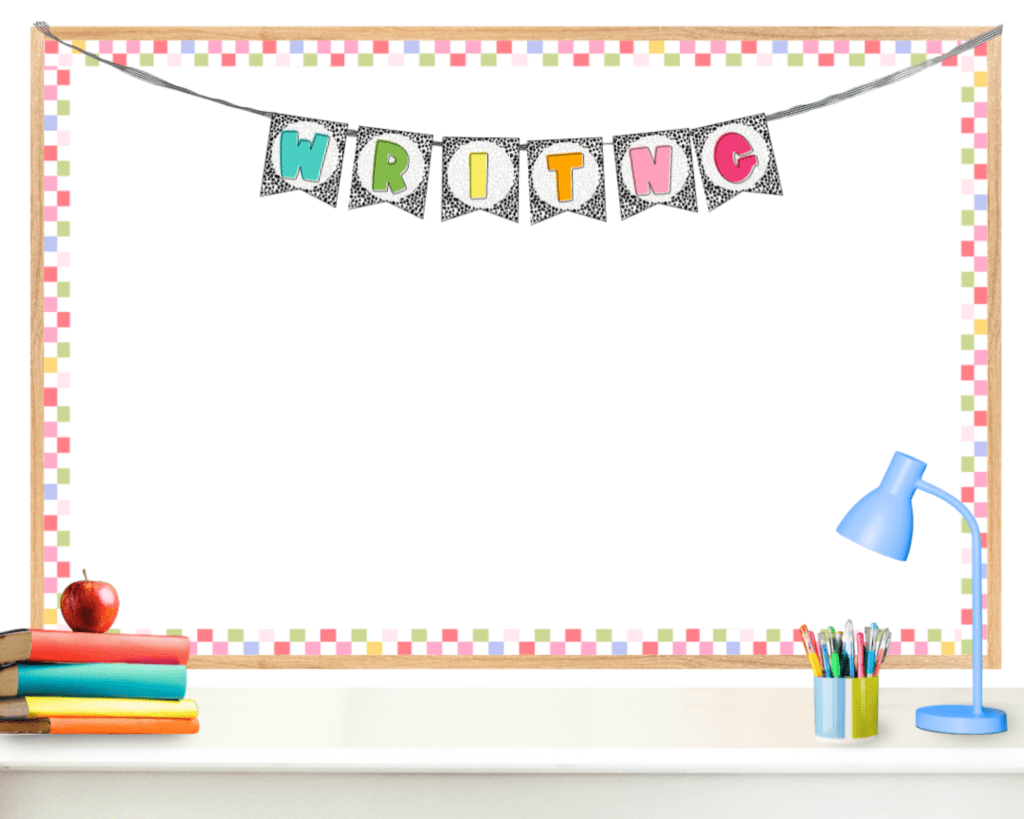
I am a big advocate for utilizing bulletin board space for learning rather than cutsy things. Plus, bulletin boards can be hard to change out seasonally because, honestly, who has time for that? If you want simple bulletin boards to use for learning, I recommend titling your bulletin boards with different subjects and using them to display things you are learning, like anchor charts, work examples, etc.
My favorite way to title bulletin boards is to use banners, rather than individual letters. Banners are easy to prep, easy to hang, and easy to reuse year after year. I keep my premade bulletin board banners strung, folded up in baggies, so they are super easy to store as well.
If you want to shop around for a banner style that matches your classroom theme, check out the bulletin board banner options in my shop. Each banner set includes the following phrases in several patterns and colors:
- “Welcome Back!”
- “Math”
- “Reading”
- “Writing”
- “Grammar”
- “Science”
- “Social Studies”
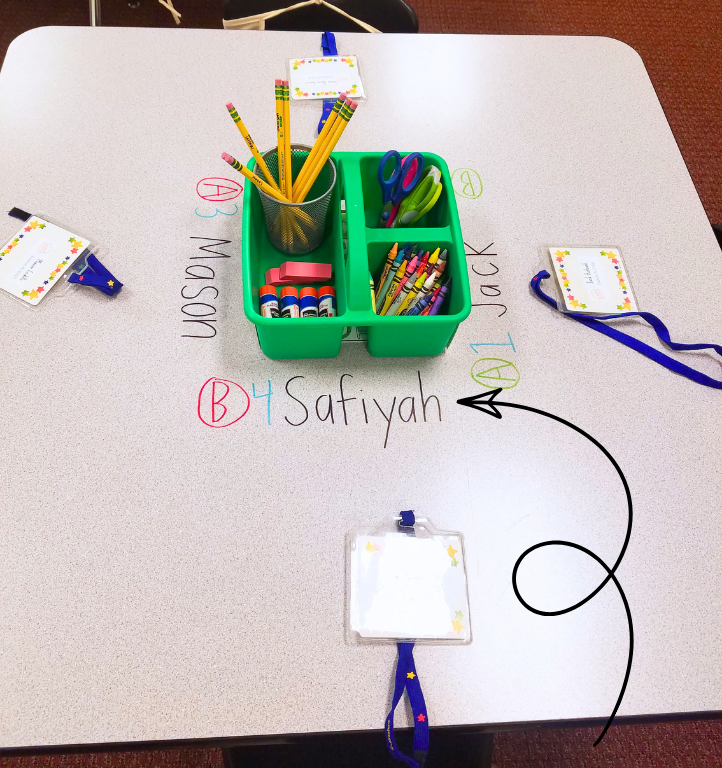
6. Write Students’ Names on their Desks in Sharpie
Seating charts are a must, in my opinion, to keep the chaos away. If you are like me and hate name plates that students pick at and ruin, then you may want to try this method. You can directly write students’ names on their desk or table spot with a Sharpie. This may seem a little scary at first, but trust me, it won’t last forever and won’t remain permanent. The names typically fade and go away within a month or two just from student use.
If you need students’ names gone from their desks sooner than that, hand sanitizer does the trick.
7. Create Desk Partners
You may have been wondering what the colored letters and numbers are for that are written next to the student’s name in the picture above. Those are to form partners or groups really easily. You can easily assign tasks to a specific partner or group member this way. You can mix up partners too by saying, colored partners (reds go together, greens go together), letter partners (A’s go together, B’s go together), ect.. Other examples might be…
- “Group member #1, get glue sticks for everyone”
- “Number 2s may line up”
- “Partner B will start first in the partner game”
- “Group member #3, gather papers and turn them in to the tray”

8. Let Students Get to Know You
One of the best ways to build classroom community and help with classroom management is to build strong relationships with your students. Letting students get to know the real you helps make connections with students and is a great way to start building strong relationships. There are a lot of small things I do throughout the year to make this happen, but one simple thing I do at the beginning of the year is share a short video all about me.
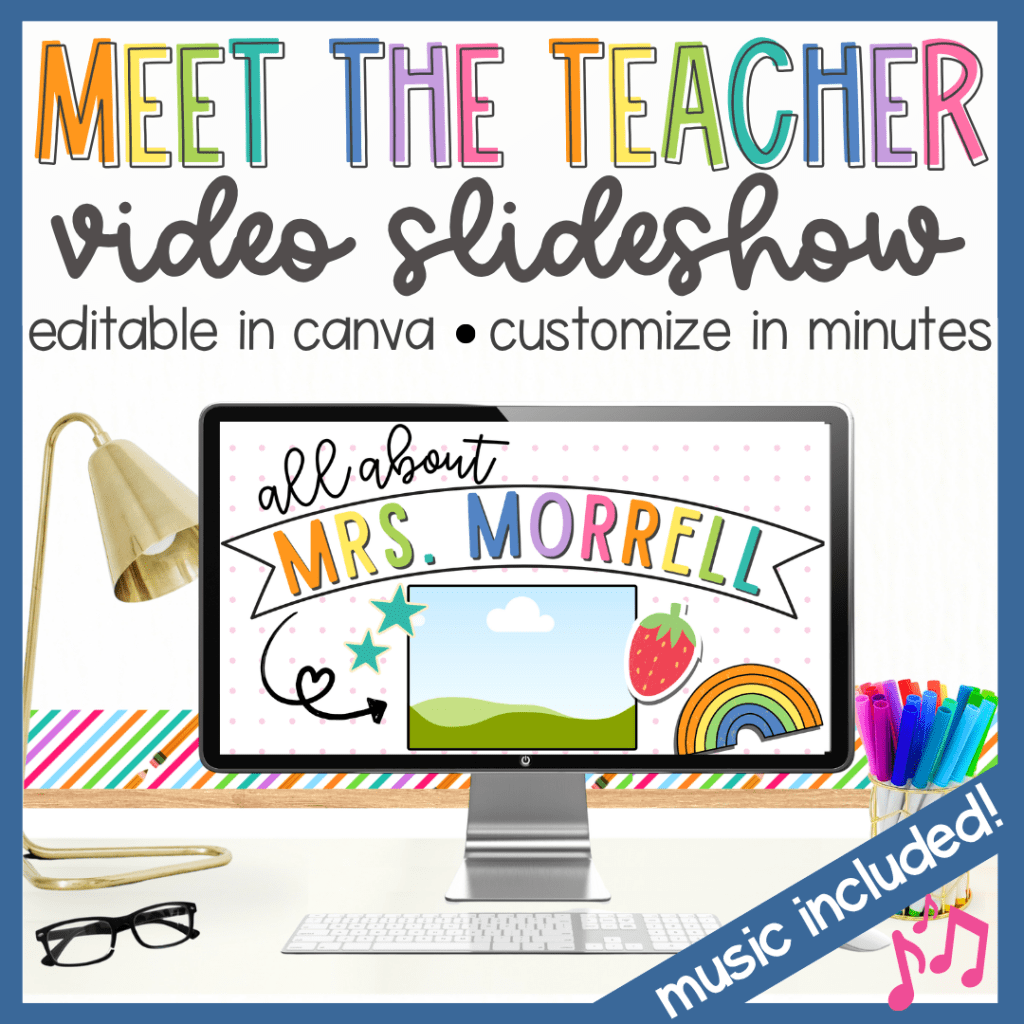
Students love learning about your hobbies and family this way. Check out my “all about the teacher” video template to make it quick and easy to make and fun for your students to get to know you.