First Year Teachers, Organization, Teacher TIps

8 Back to School Tips

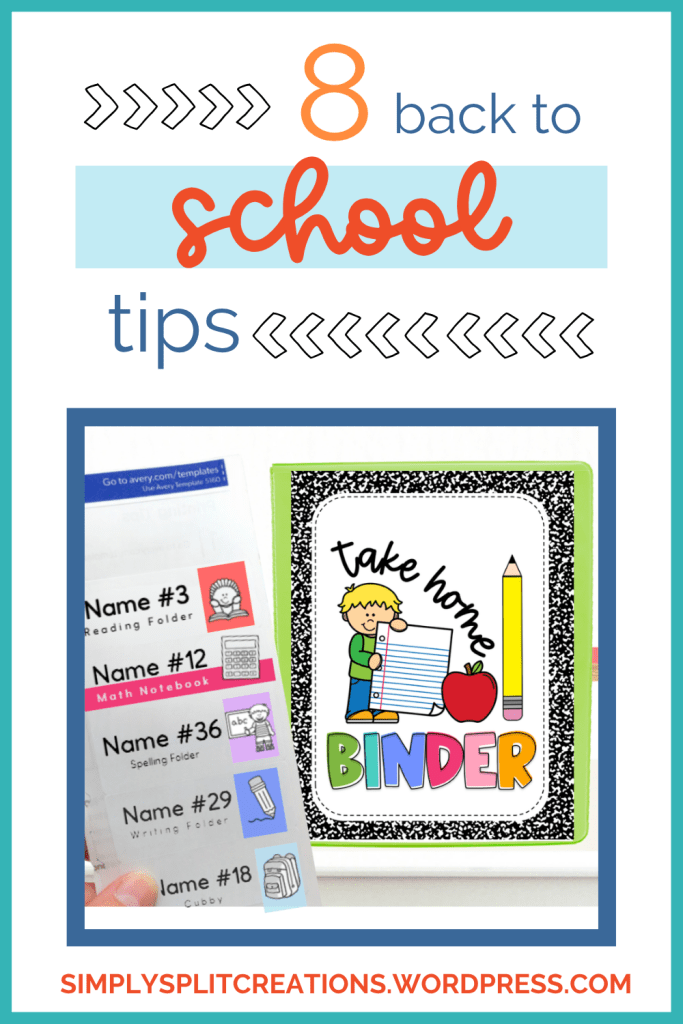
Graphic featuring '8 back to school tips' with a colorful design; includes a checklist with labeled sections for school supplies like folders and a 'take home binder' illustration.

Going back to school can be a fun and exciting thing, but also a very hard thing. Let’s be honest, we all enjoy some time off.  Now, I don’t necessarily have a solution for you if you’re dreading going back to school, but I have compiled some tips to help make back-to-school time smooth, easy, and fun for your students. 

1. Prep for back-to-school night early

If you’re a procrastinator (like me 😬), this may be a difficult task for you, but I promise you will be so relieved if you can get your back-to-school prep done early.  If I have enough energy and pep, I usually do this at the end of the school year; that way I’m already ahead when I go back to school.  It makes the summer a lot more enjoyable knowing that I already have one thing knocked off my to-do list. 

    I keep all my prepped materials in my handy dandy prepping bin, ready for me to pull back out in the fall. 

    A colorful organizational folder with labeled tabs for each month, containing bright red copies and the title 'teacher copies' along with a pencil and notebook graphic.

    2. Use Avery Labels

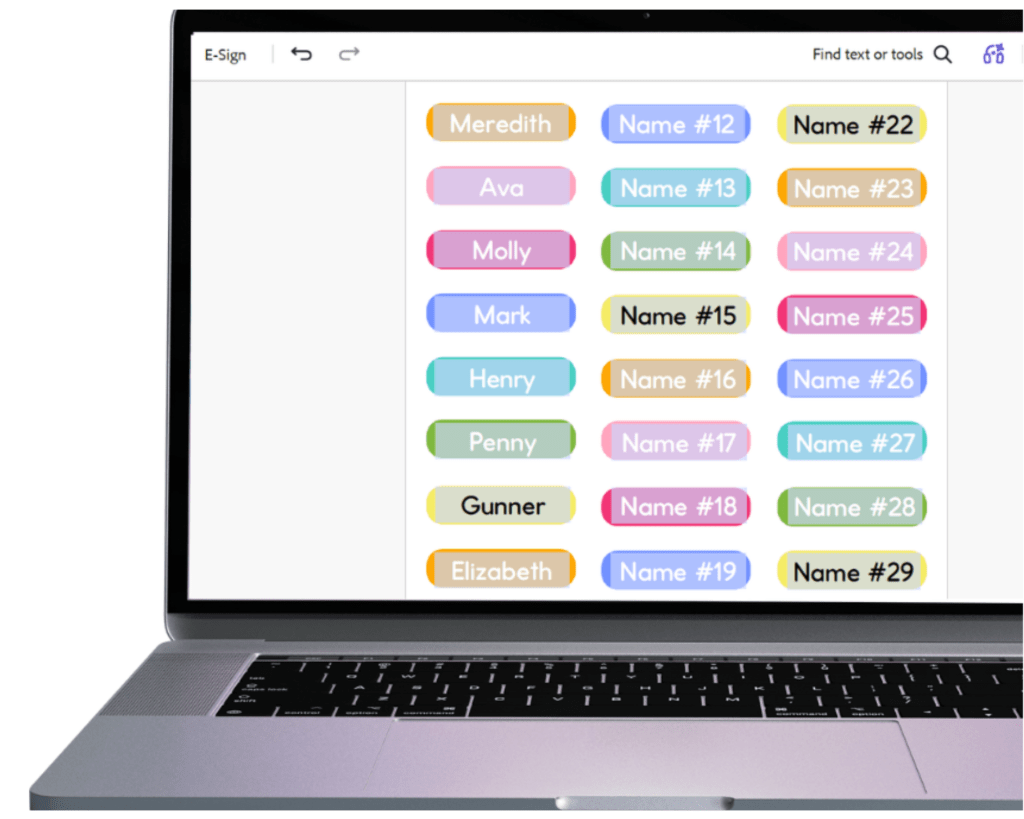
    Avery labels are my best friend at the beginning of the school year.  They make labeling and adding students’ names to things SOO easy.  I use them for student lunch numbers, student name tags, labeling notebooks & folders, labeling my materials “property of…,” and classroom library book genres.  Honestly, the possibilities are endless. 

      I’m not sure how it works at your school, but we usually get our class list a week or so before school starts, and then the race is on to get everything labeled and ready quickly so I might have a chance to relax for at least a day or two before school officially starts.  These student name labels make everything SO easy.  I type my class list once, and they autofill to every page!  These labels fit on Avery labels #8160, which makes applying them really easy.  I just peel and stick them to student materials.

      Grab these student name labels to make back-to-school labeling a breeze!
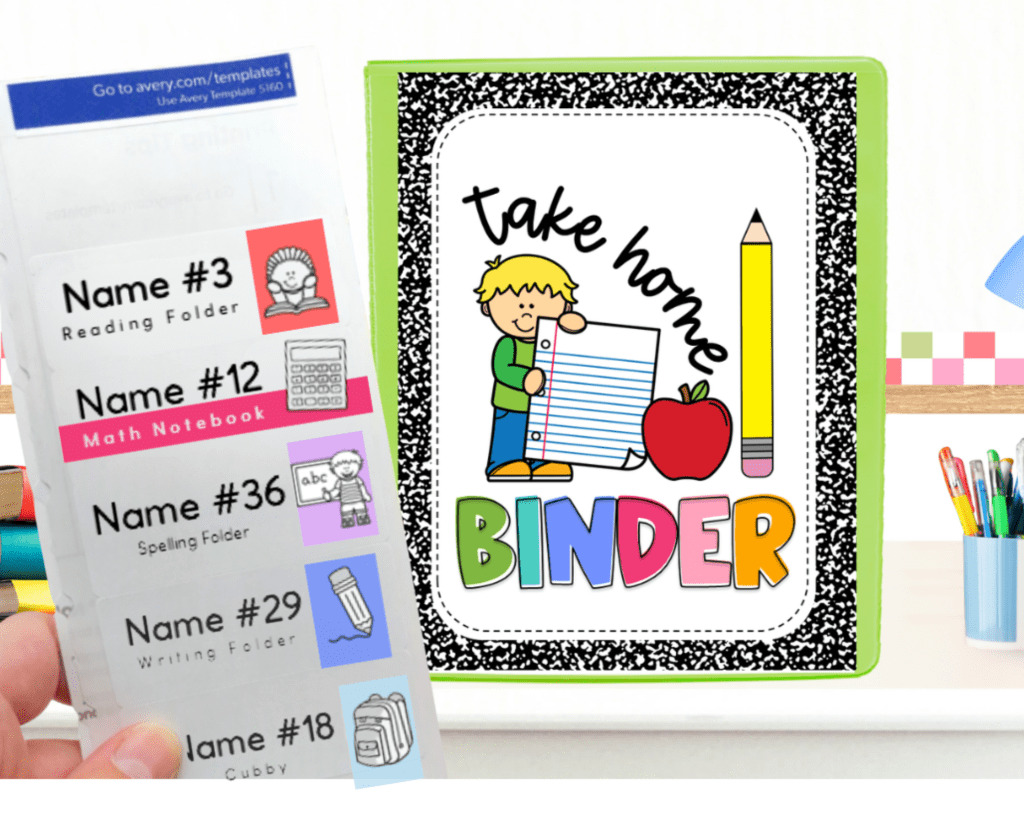
      A colorful binder labeled 'Take home BINDER' featuring a cartoon boy holding a sheet of paper, an apple, and a pencil. In the foreground, a hand is holding a label sheet with various labeled folders including 'Reading Folder' and 'Math Notebook.'
      A laptop screen displaying a list of names and placeholders labeled 'Name #' in various colors, organized in rows.

      3. Keep Extra Materials & Blank Labels

      I highly recommend keeping extra materials on hand with ready-to-go blank labels.  This makes it super easy to grab materials for new students you might get throughout the school year.  I stick the blank labels right on the materials and store them in my closet just in case.  Then I simply write the new student’s name on the label, and they are all set to go.

      A collection of colorful name tags for school with labels such as 'Homework Folder' and designs featuring apples and school icons, surrounded by stationery items like markers, a pencil case, and decorative papers.

      4. Build Your Student Checklist

      I use student checklists daily, it seems. They are great for grading, building seating charts, field trips, and so much more. I highly recommend creating a student checklist template and keeping a bunch of printed copies on hand.  It can save you so much time and be so helpful throughout the school year.

        If you’d like a template, check out my teacher essentials pack that includes student checklists, teacher to-do lists and SOO much more!
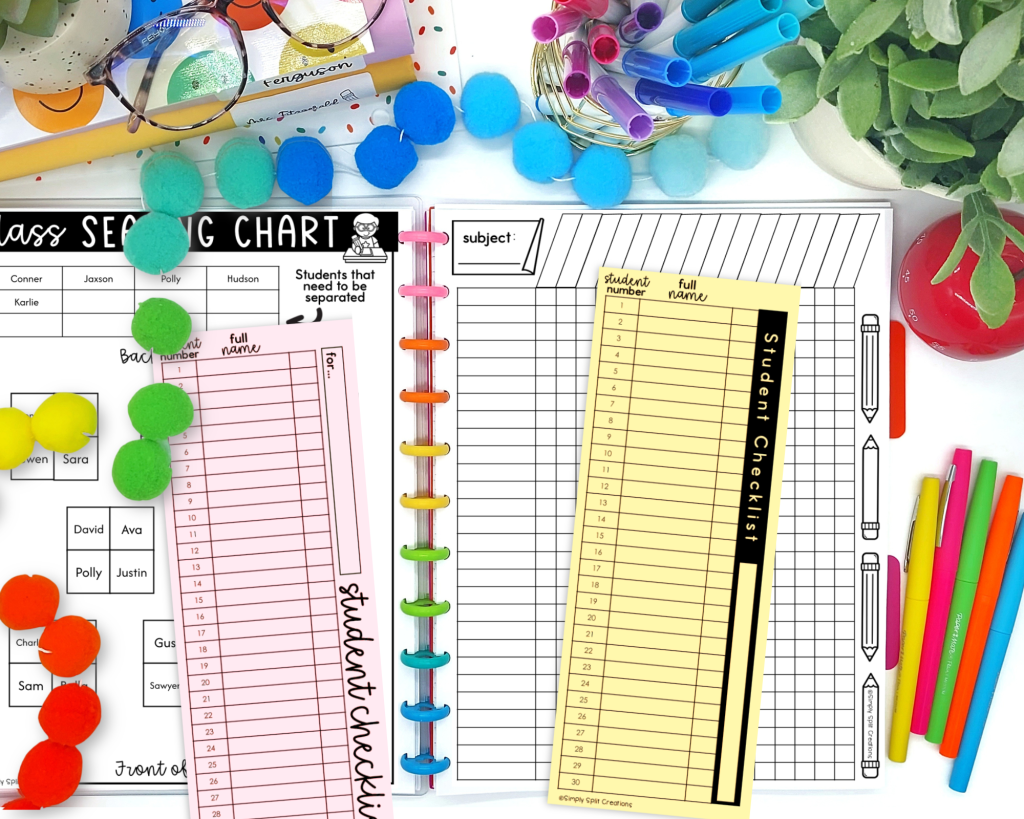
        An organizational workspace featuring a class seating chart, a student checklist, colorful pom poms, pens, and a small plant.

        5. Generic Bulletin Board Subject Titles

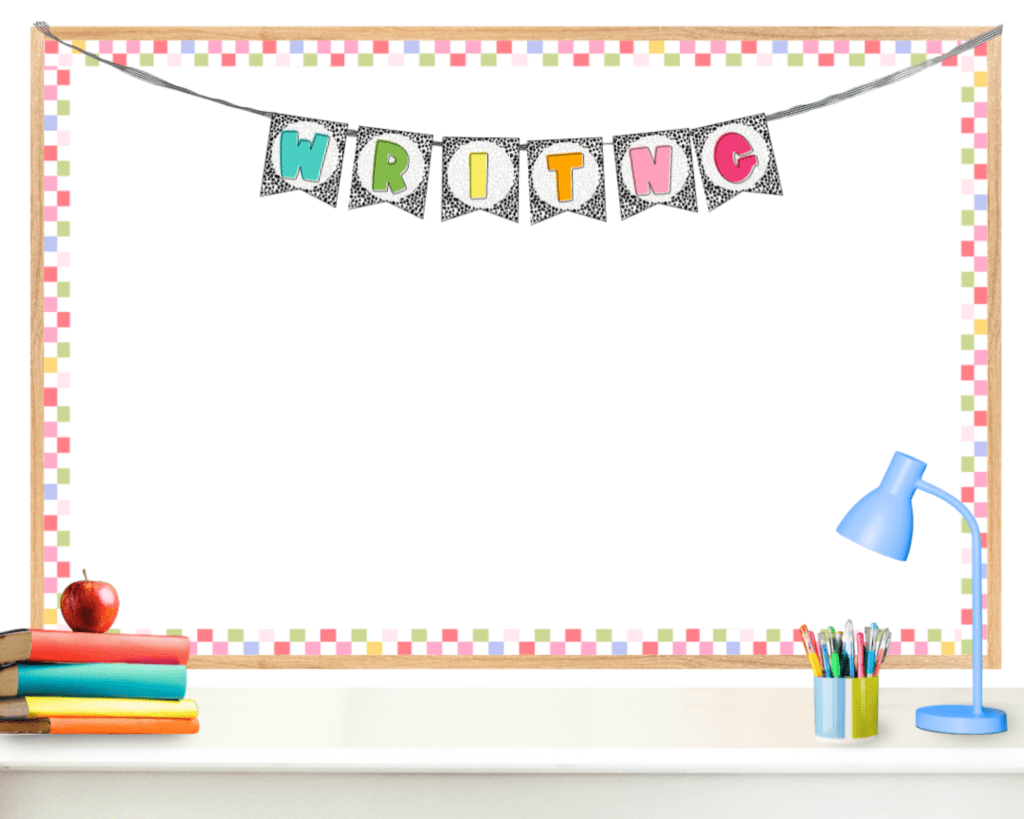
        I am a big advocate for utilizing bulletin board space for learning rather than cutsy things.  Plus, bulletin boards can be hard to change out seasonally because, honestly, who has time for that?  If you want simple bulletin boards to use for learning, I recommend titling your bulletin boards with different subjects and using them to display things you are learning, like anchor charts, work examples, etc. 

          My favorite way to title bulletin boards is to use banners, rather than individual letters.  Banners are easy to prep, easy to hang, and easy to reuse year after year.  I keep my premade bulletin board banners strung, folded up in baggies, so they are super easy to store as well.

          If you want to shop around for a banner style that matches your classroom theme, check out the bulletin board banner options in my shop.  Each banner set includes the following phrases in several patterns and colors: 

          • “Welcome Back!”
          • “Math”
          • “Reading”
          • “Writing”
          • “Grammar”
          • “Science”
          • “Social Studies”
          A bright classroom scene featuring a bulletin board with the word 'WRITING' on decorative banners, surrounded by a colorful border. A desk displays a stack of books, an apple, and a cup of assorted pens beside a blue desk lamp.

          6. Write Students’ Names on their Desks in Sharpie

          Seating charts are a must, in my opinion, to keep the chaos away.  If you are like me and hate name plates that students pick at and ruin, then you may want to try this method.  You can directly write students’ names on their desk or table spot with a Sharpie.  This may seem a little scary at first, but trust me, it won’t last forever and won’t remain permanent.  The names typically fade and go away within a month or two just from student use.  

            If you need students’ names gone from their desks sooner than that, hand sanitizer does the trick.
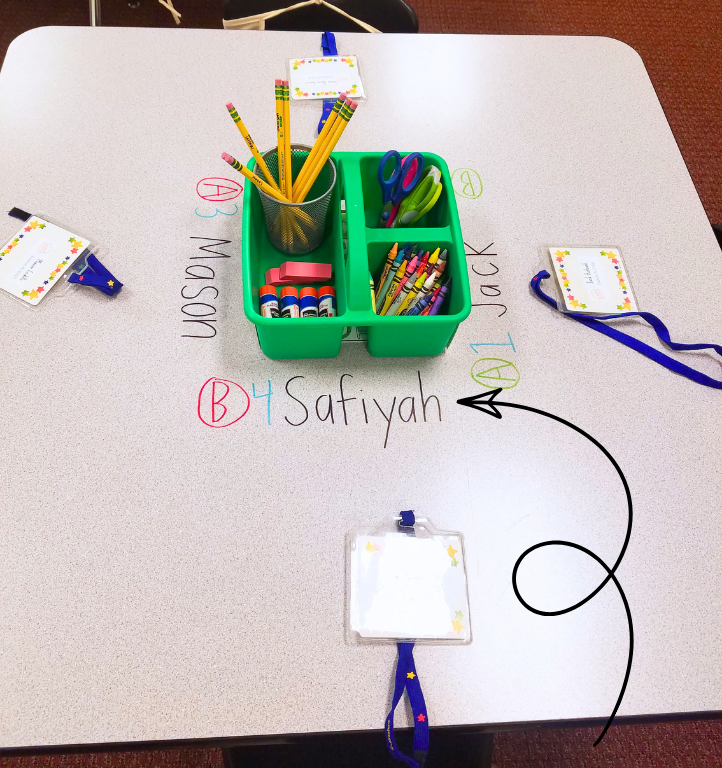
            A classroom table with writing supplies including pencils, markers, and scissors in a green container, with names labeled around the edges.

            7. Create Desk Partners

            You may have been wondering what the colored letters and numbers are for that are written next to the student’s name in the picture above.  Those are to form partners or groups really easily.  You can easily assign tasks to a specific partner or group member this way.  You can mix up partners too by saying, colored partners (reds go together, greens go together), letter partners (A’s go together, B’s go together), ect..  Other examples might be…

              • “Group member #1, get glue sticks for everyone”
              • “Number 2s may line up”
              • “Partner B will start first in the partner game”
              • “Group member #3, gather papers and turn them in to the tray”
              A green container filled with various school supplies including pencils, scissors, and glue sticks, on a table marked with names and letters associated with students.

              8. Let Students Get to Know You

              One of the best ways to build classroom community and help with classroom management is to build strong relationships with your students.  Letting students get to know the real you helps make connections with students and is a great way to start building strong relationships.  There are a lot of small things I do throughout the year to make this happen, but one simple thing I do at the beginning of the year is share a short video all about me.  

                Students love learning about your hobbies and family this way.  Check out my  “all about the teacher” video template to make it quick and easy to make and fun for your students to get to know you.
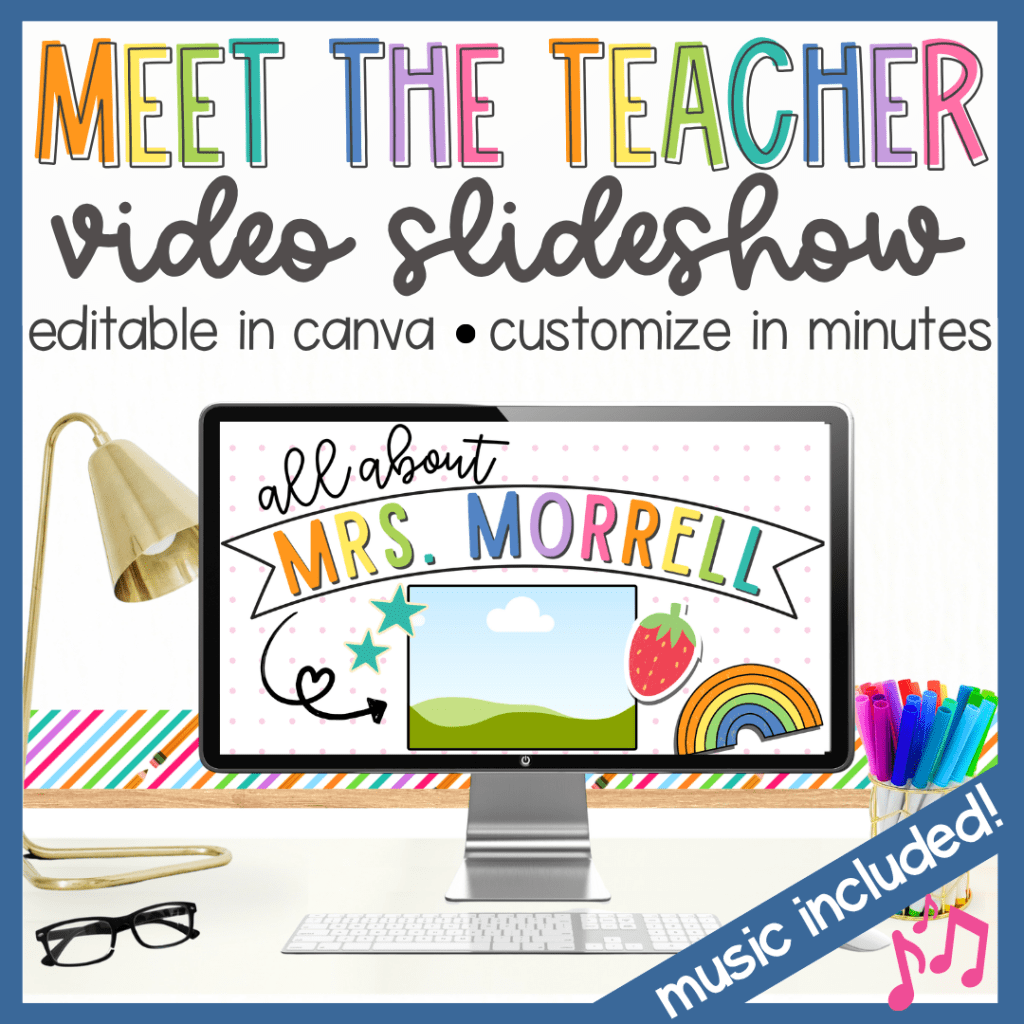
                A digital advertisement for a customizable 'Meet the Teacher' video slideshow featuring a desktop computer displaying colorful graphics about Mrs. Morrell. Includes text indicating it's editable in Canva and mentions music is included.

                Teacher TIps

                The Ultimate Lesson Planning Batching Method to Save You Time

                An organized workspace featuring a lesson planning notebook, colored pens, and pastel notepads on a pink background. The image promotes an effective lesson planning method.

                Planning… Love it or hate it, it’s a huge part of teaching.  

                If you haven’t been able to find a good planning routine, or if you’re struggling to make sure things are planned week to week (or even day to day), I’ve got a suggestion for you that completely changed the way I lesson plan, and helped me get time back.

                Early in my teaching career, I STRUGGLED with planning and prepping.  During my first year of teaching, those first couple of weeks of school were LONG and HARD.  I was planning day by day and staying in my classroom until after dark to finish planning/prepping what I needed for the next day.  That is an absolutely exhausting way to live.  Slowly, I got faster and better at planning.  

                When I started implementing “batch” lesson planning strategies a few years ago, I remember feeling like I had happened upon magic fairy dust.  Planning all of a sudden became SOO much easier, and I finally had a good rhythm and no longer felt like I was drowning.  

                If batch lesson planning is new to you, don’t worry, I’ll go over the basics with you so you too can gain your time back and lesson plan in a breeze.

                What is batching?

                If batching is brand new to you, you may be wondering what batching is.  Batching is basically doing “like tasks” in bulk.  Batching saves time because there are few transitions and your mind can focus on one simple thing, which often makes things flow more easily.

                How does batching apply to lesson planning?

                When it comes to lesson planning, I like to batch lesson plan by subject.  Batching by subject is helpful because you can stick with one subject and plan out a month’s worth of lessons in a pretty quick amount of time.  This is because you’re not switching between different concepts, and you’re solely focused on one subject.  Planning this way also has helped me think more long-term and be more strategic or “thought-out” when lesson planning.

                Lesson plan batching in action?

                So you might be wondering how this actually works, so I’ll give you an example.

                When you start out, you will have to do a bit more planning upfront, but it will go quicker after the first week.

                During the first week, I plan the following items:

                • Teaching procedures
                • Get to know you activities
                • Grammar – throughout the next 4 weeks
                • Math – throughout the next 4 weeks
                • Phonics
                • Writing

                During the second week, I plan the following items

                • Grammar – (already planned)
                • Math (already planned)
                • Phonics – throughout the next 4 weeks
                • Writing 
                • Social studies/science 

                During the third week, I plan the following items

                • Grammar (already planned)
                • Math (already planned)
                • Phonics (already planned)
                • Writing – throughout the next 4 weeks
                • Social studies/science  

                During the fourth week, I plan the following items

                • Grammar (already planned)
                • Math (already planned)
                • Phonics (already planned)
                • Writing (already planned)
                • Social studies/science – throughout the next 4 weeks

                Once you get to this point, you only have to prep 1 (maybe 2) subjects a week.  This significantly reduces the amount of time I spend lesson planning, which leaves me time to grade, prep, or any of the other million things on my to-do list.

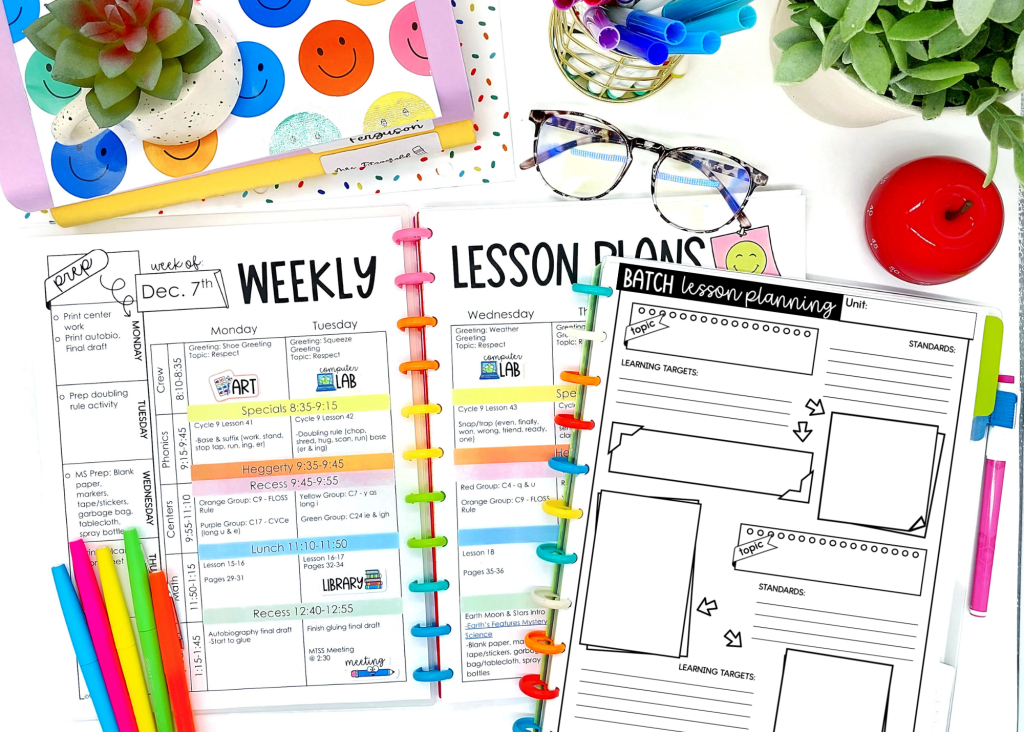
                I have created some templates to help with the batching process.  If you’d like some help to get started with batch lesson planning or just need help keeping your lesson plans nice and organized, try the lesson planning templates I created. The following items are included in the lesson planner:

                • weekly lesson planning templates
                • curriculum mapping templates
                • monthly checklist/goals etc.
                • month at a glance
                • year at a glance
                • upcoming important dates
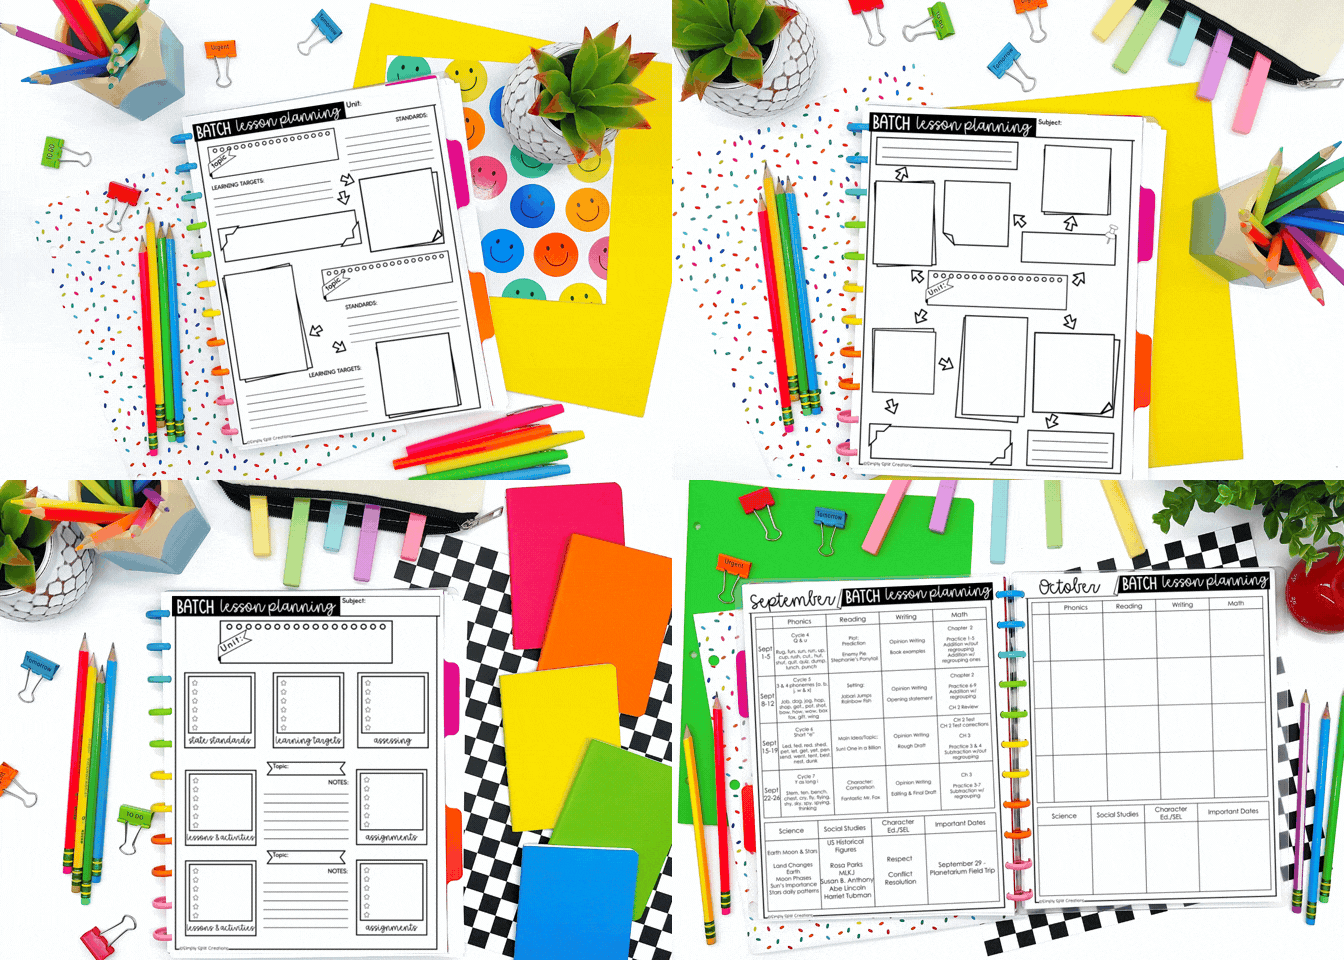
                • batch lesson planning documents
                • class schedule
                • special class schedule
                • 300+ digital stickers
                A colorful planner opened to a weekly lesson plan for the week of December 7th, featuring sections for Monday through Wednesday, including subjects like art and library, along with additional blank lesson planning pages. Surrounding the planner are colorful pens, a succulent plant, glasses, and a red apple.

                Below is a close-up of the batch lesson planning templates included.  There are a variety of templates included to help make lesson planning a breeze!

                Colorful layout of a lesson planning sheet titled 'BATCH lesson planning Unit' surrounded by stationery items including colored pencils, paper clips, sticky notes, and a small potted plant.

                If you’d like a calendar, small group lesson planning, sub planning, and more, then you may be interested in the full planner bundle.  You can check out the planner bundle below:

                A colorful planner opened to January 2026, featuring monthly and weekly calendar sections, decorative stickers, notes section, and vibrant stationery items like highlighters and colored pencils.