EL Skills Block, Literacy Centers, Phonics, Teacher TIps

How to Assess Students 1 on 1 Without Giving Up Your Prep Time

Assessments are very important.  They provide teachers with valuable information about each student: what each student already understands and what they are struggling with.  Assessments don’t just help you understand what students do and don’t understand; they help teachers analyze student growth and can help teachers improve their teaching methods.

However, especially in K-2 classrooms, assessments are not always easy.  As a teacher who has taught in Kindergarten, 1st, and 2nd grade, I know the struggle of assessing K-2 students (especially reading assessments) because they almost always have to be done one-on-one.  Where does a teacher find time to assess each student one-on-one?  What is the rest of the class doing while the teacher is assessing?  These are the hard problems that teachers often have to find solutions to, and it’s not easy.  Along the way, I found a few things that were helpful to me as I tried to make one-on-one assessments work in my classroom.  Keep on reading to learn of my secrets that can hopefully benefit you in your classroom.

  1. VOLUNTEERS: Ask for parent volunteers! – Many parents are eager to help in classrooms but just need to be asked.  Depending on what you feel comfortable with, you can either have parent volunteers do a portion of your assessment, OR you can have them read books aloud to the class while YOU assess students.  I personally usually like to do most if not all of the assessing myself because it helps me get a better picture of each student plus you’re able to make sure the assessment was performed with fidelity, but if you’re comfortable with parents assessing, this may be a great option for you.  I would recommend having parents sign a confidentiality agreement if they do help with assessments just to be on the safe side.  Otherwise, parents are perfect for reading books aloud for the class, while you assess.  I recommend assessing students in the hallway so that they aren’t distracted by the book being read aloud.
  2. ONLINE BOOKS: Use Vooks, Epic, or Story Online – all of these websites are amazing classroom tools.  These websites will read books aloud to the class.  Just project it to a screen and let it do its thing.  I’ve sometimes used these websites to play books in the morning time as students arrived at school and it is so helpful in keeping students engaged and quiet in the morning time.  These websites are also great when you need to do one-on-one assessments.  Let the books play while you assess students.  I would recommend using some noise-canceling headphones for your students to wear while they are assessed so they aren’t distracted by the book, or if you feel you are able, you can step into the hallway to assess students as well.
  3. CATCH-UP DAY/FREE FRIDAY: Another option is to have Free Friday. This works like a “Catch-up Day” where students are able to catch up on any work that they missed or haven’t fully completed yet.  Students completing all their assignments get to have “Free Friday.”  This is a great time to assess students.  Again, I recommend using noise-canceling headphones for the students being assessed to help them not get distracted while they are assessed. 
  4. ADDITIONAL COMPUTER TIME: Schedule additional computer time in the computer lab – This may not be an option for you or you may only have an opportunity for additional computer time at random times throughout the year, BUT if your school does allow this, it is so helpful to schedule extra computer time.  Have students work on something specific, use Epic, or whatever program subscriptions your school has, and assess students while the rest of the class is busy on the computers.  This is the easiest way to get assessments done very quickly.  Students are all usually quiet when on computers, and there is a lot less chaos going on, making it easy to assess students very quickly.
  5. LITERACY GAME DAY: Literacy game day is something that my students usually beg for.  All you need is some engaging phonics or reading games, and your students will be entertained while practicing reading skills.  My students typically behave really well during these times because they know if they don’t, we’ll end our game time early.  This makes it easy to assess students.  As long as students understand how to play each game, this is a really great option and can help you assess students quickly.  I would also recommend using noise-canceling earphones for students being assessed – that is, if they are getting distracted.  

If you would like game recommendations, I will link some of my favorites below:

  • Snap it up! – This game is a really fun and easy game for students to learn.  This is available on Amazon – click here to view
  • Phonics Three in a Row – This is such a fun partner game.  It plays just like tic tac toe, except students must read the word in the box in order to place their “x” or “o” in the spot – click here to view
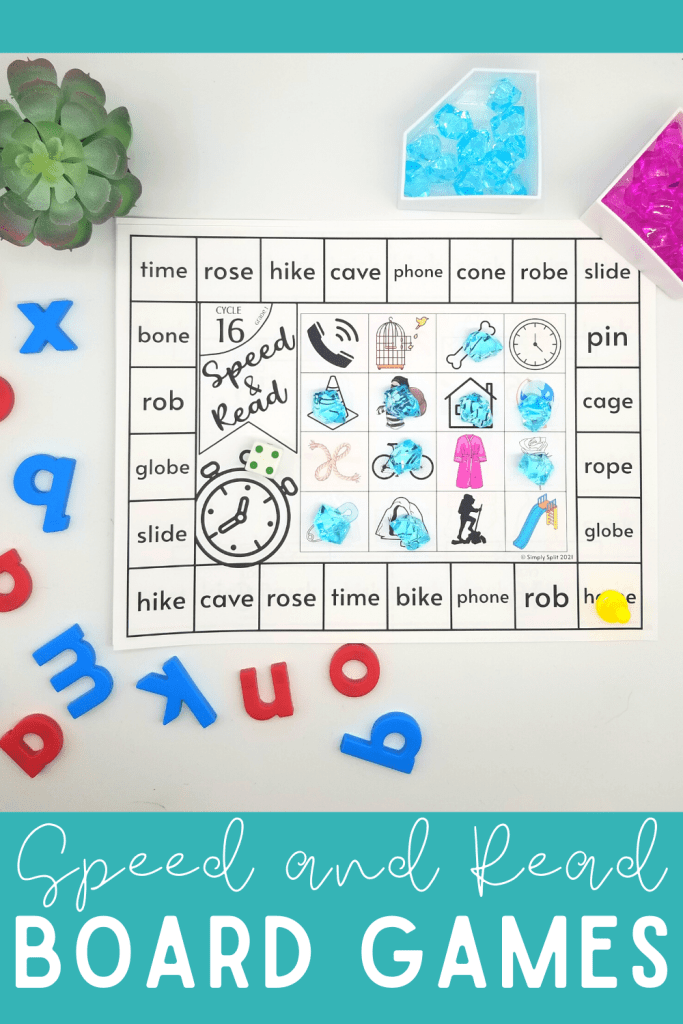
  • Speed & Read – I love this game option because it can be played with a group or individually.  Students roll the dice, move around the board, read the word, then find the clipart that matches the word they read, and then place a game chip over the clipart.  They work to get 4 in a row. – Click here to view
  • K-2 Phonics Games Mega Bundle – This includes all the phonics games listed in my shop.  If you want a wide variety of games, this is a much cheaper option than purchasing games separately – click here to view
  • Flashcard Games – I have a blog post you can view that talks about several fun games students can play with any flashcard set – click here to view
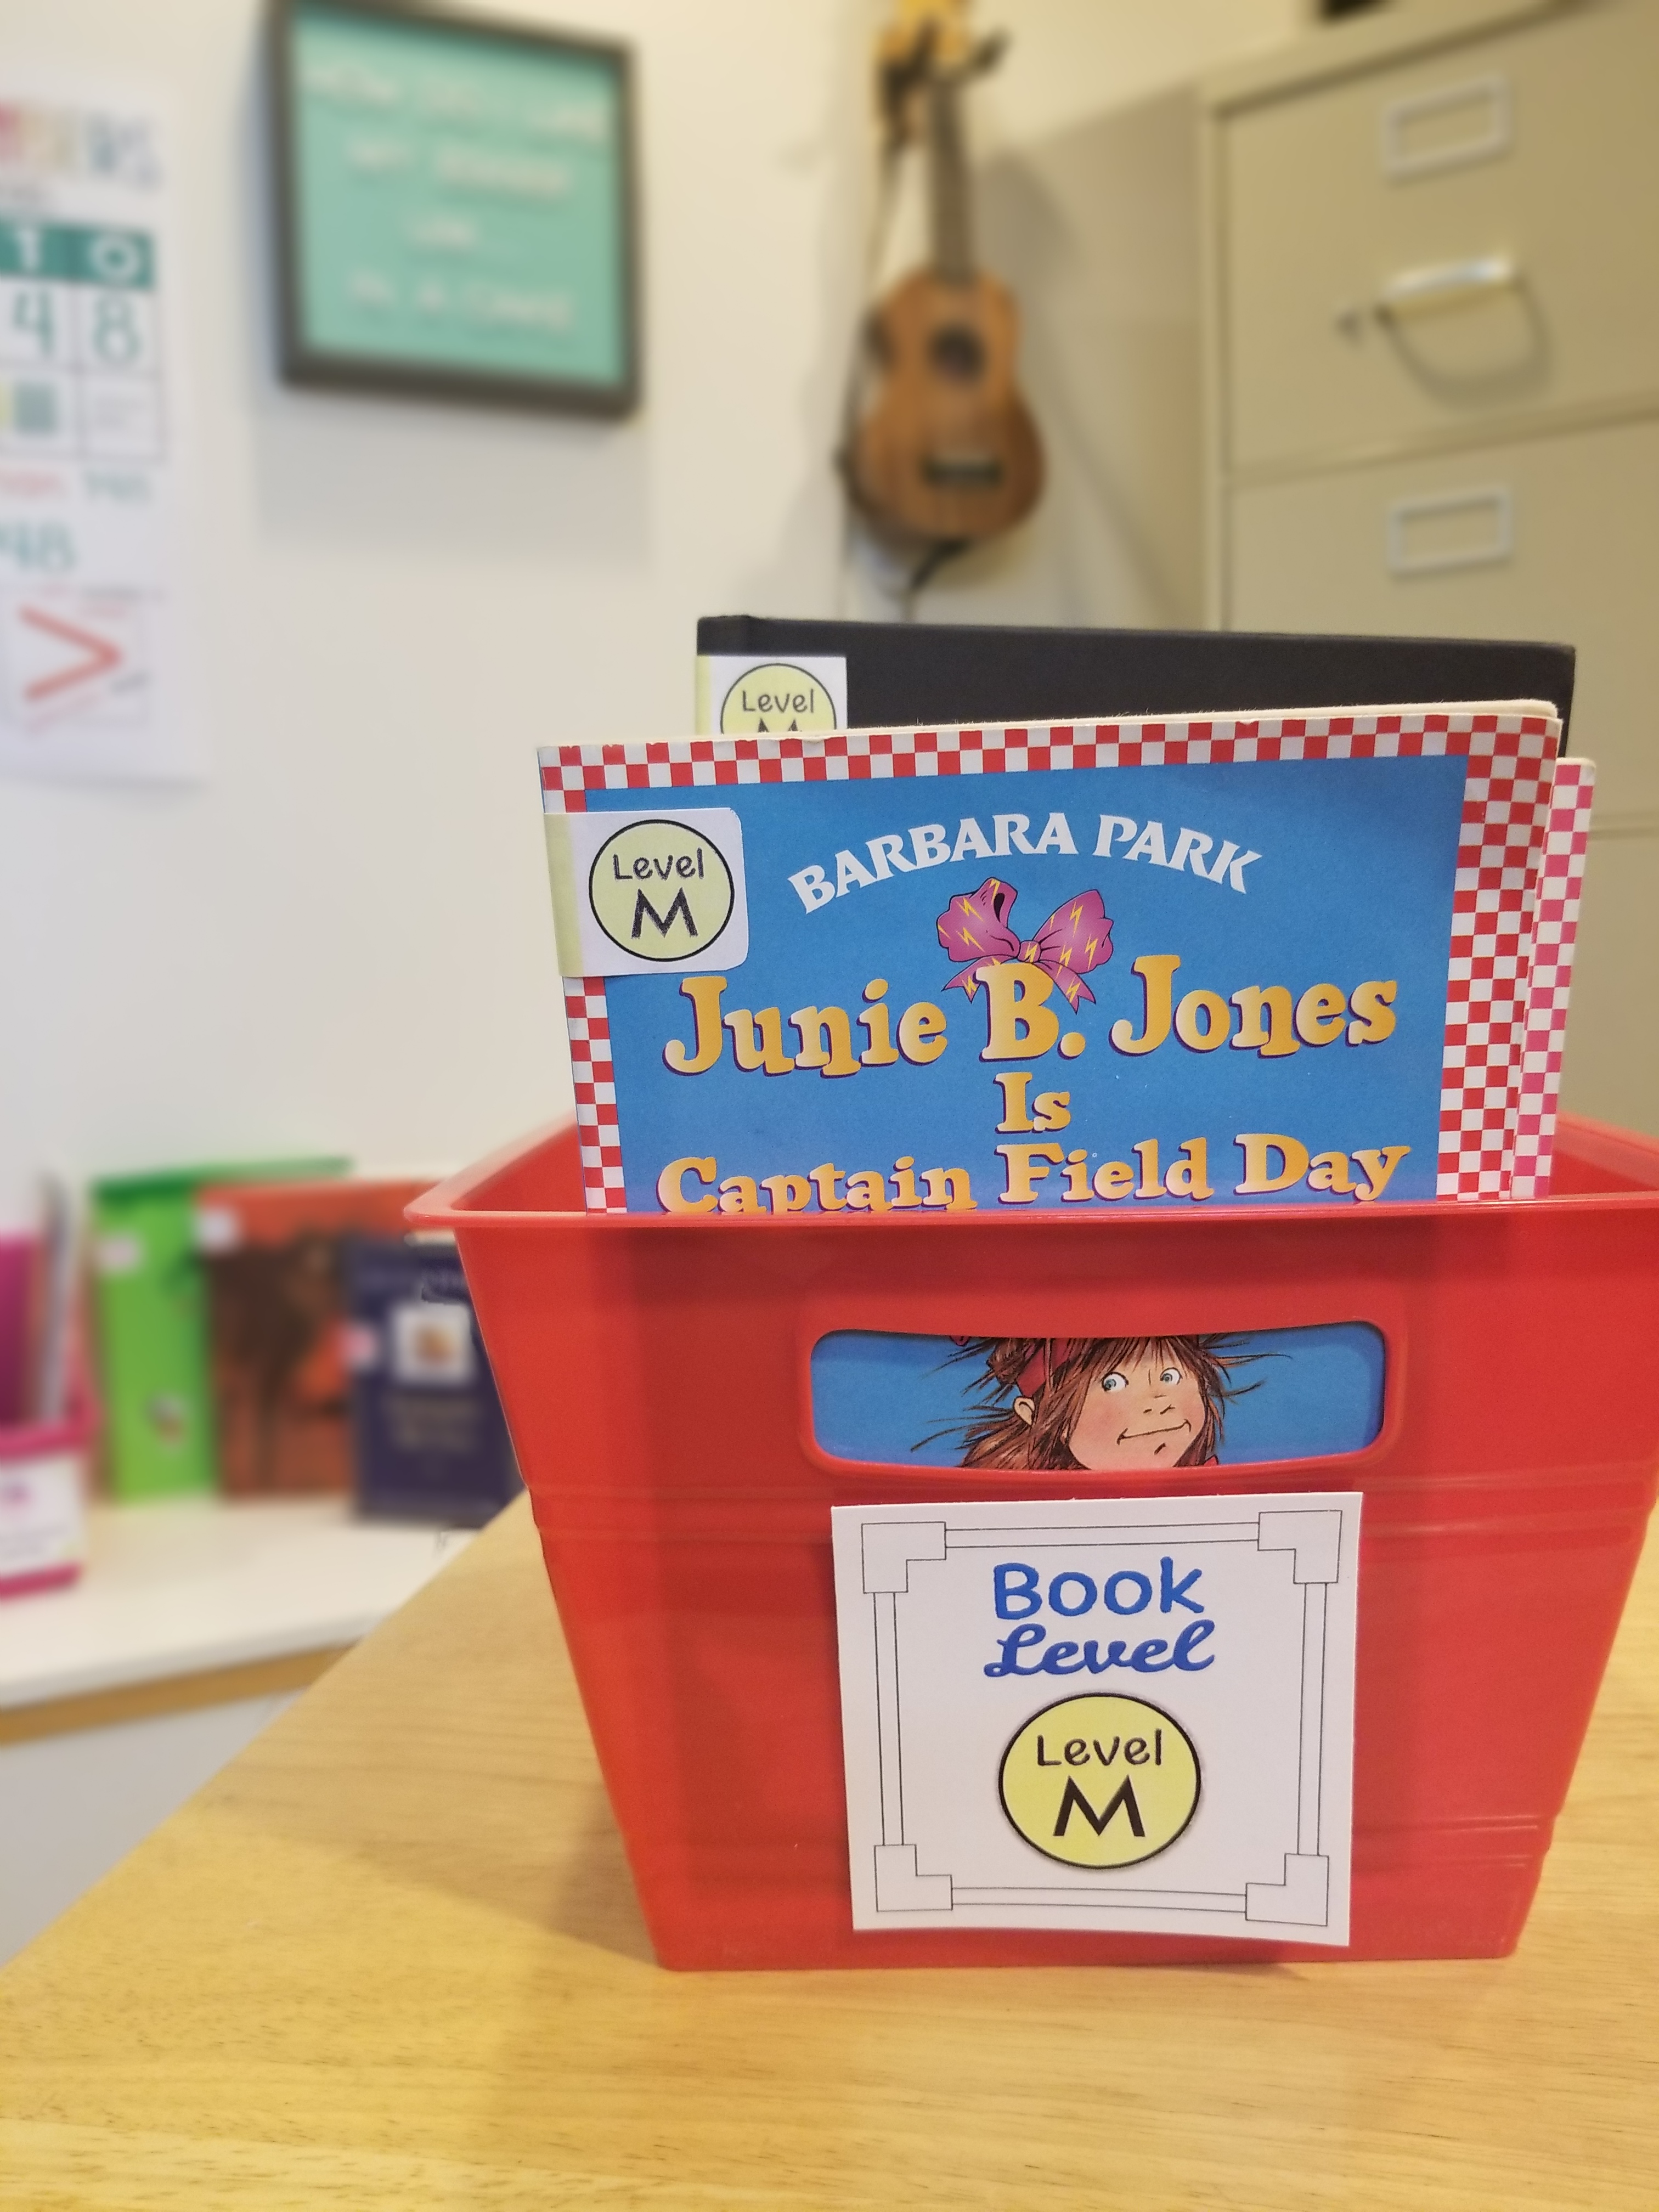
  1. CENTERS/WORK CHART – This works better for MOY or EOY testing because students will already be familiar with centers or a work chart in your classroom.  How this works is that instead of having a “teacher table,” you’ll just call individuals to be assessed.  This is typically when I assess students most frequently, but this is trickier to do at the BOY before students start centers.
  2. PREP TIME – Using your prep time is a last resort but sometimes necessary. Don’t sacrifice your whole prep time, but take 5 minutes of your prep time to assess 1-2 students while the class is at specials.  This will add up over time and before you know it, you can make it through your whole class of students.
  1. Write each student’s name on the assessment sheets you need completed.  This will help you keep track of which assessments still need to be completed (or use the tracker in my assessment pack).
  2. If you have a literacy team at your school, I would recommend asking for assistance with assessments at the beginning of the year.  Typically, the literacy team isn’t up and running until after assessments anyway, so this isn’t too unreasonable to ask and would save you a LOT of class time.

Finding a good assessment that gives you a clear picture of each student’s strengths and weaknesses is so important.  It is also very helpful if you’re able to track students’ progress throughout the year to measure growth.  Grouping students for centers can also be tricky. 

What if I told you there was an assessment that does all three of these things…because it’s true, there is!
Check out the K-2 Assessment Bundle in my shop! Click here to view the assessment.


Organization

How to Plan and Prep Effective Small Group Lessons in 5 Minutes or Less

If you feel like you never have time to complete all of your teacher tasks, you are not alone.  This is a common feeling amongst teachers and because of this, teachers often get burned out very quickly.  In order to avoid feeling burned out and still get all the important things done, it’s important to figure out how to streamline your processes to make better use of your time.  In order to save my sanity, I figured out a great way to help save me time when it comes to planning my small group lessons that has worked really well for me.  I’m going to share some of my favorite secrets to help you get more accomplished and hopefully feel less burned out.

Keep in mind that in order to make this a streamlined process, it will take some initial prep.  This initial prep will end up saving you SO much time in the long run though.  Once you have things organized, you will thank yourself in the future when you are able to successfully prep your small group lessons in 5 minutes or less.

Also note that it is possible to completely bypass a good majority of the prep work and skip steps 1-4.  If you’re looking for less upfront prep work, skip to the end of step 4 and read the section labeled “Want something even more streamlined and with less up-front prep work?”

First, you will want to figure out what phonics scope and sequence you are going to follow within your small group lessons. If you have a phonics program that your school has adopted, use the scope and sequence provided and follow the order that each phonics rule is taught.

If you don’t have an adopted program, I would suggest choosing a program that is research based and follows the science of reading (SOR).  

I highly recommend following the EL Skills Block curriculum.  You can access all their manuals online for FREE and it is research based. This is a K-2 program.  I have made several activities that align with this program which you can use to supplement any lessons or use in centers.

Another great scope and sequence to follow is the one that LETRS includes in their manuals.  Their scope and sequence is laid out very nicely and specifies when each phonics skill should be mastered for reading and for spelling (they are at different times). Their scope and sequence is planned for K-3 students.

Next, you’ll want to create word lists that follow each of the phonics skills in your scope and sequence.  This may seem silly, but it can be hard to think of words right on the spot and you’ll want to have this already figured out to streamline this process.

If you are using the EL Skills Block curriculum, I have pre-made spelling word lists that align with their scope and sequence.  You can grab a copy for the grade level you teach from my TpT shop.  However, I highly recommend getting the K-2 bundle, the reason being that you will have students that are above or below grade level and you will want to be able to accommodate them and have materials and resources already prepped.

I keep a stapled copy of all the word lists at my small group table that I can quickly reference when needed during small group lessons.

You may already have some great phonics activities up your sleeve which is great.  You can skip this step if you feel strong in this area already.

Some of my favorite low prep activities to do during small group lessons are:

There are some additional small group activity ideas you can check out here.  This is a FREEBIE from my teachers pay teachers shop.  There are so many great ideas to use as a small group lesson.  Most lessons can be adapted by just using a whiteboard which I LOVE because there is no prep needed.

It may be helpful to record the phonics activities you have already and figure out what phonics skills you may be lacking in your resource collection. This can also be used as your lesson guideline that you can use down the line. Feel free to use this FREE template I created to help you organize and analyze what you have and need to still get.

After you have been able to analyze all the materials you have and what you might need, you’re going to want to get all those materials fully prepped.  You can enlist help from others so this can be a smooth quick process.  Here are a few suggestions:

  1. Contact the education department of a local college.  Some colleges may require students with an education major to complete a related service project.  Some students may just want to get involved with working with a teacher to gain experience.  You can use this to your advantage and ask for volunteers to help prep materials for your classroom.
  2. Ask teachers at your school if they have any students that may have spare time to help.  Some teachers may be wanting to do a class service project or may have students that finish with their work early that can volunteer and help in your classroom.  It never hurts to ask and see if you can get any help.
  3. Ask for parent volunteers.  Parents often want to get involved in the classroom but aren’t always available during school hours to help.  I usually get a lot more parent volunteers to help prep materials on their own time rather than volunteers to help in the classroom.  It is a great solution and can help save you so much time.  One of my favorite ways to get parent volunteers is by using the ClassTag app.  I use ClassTag as a way to communicate to all parents and it has a great method for asking for volunteers.  When you ask for volunteers on the app, parents can see if the volunteer spot has been filled or not.  ClassTag will automatically send out the volunteer opportunity again after a while if it has not been filled to make sure the volunteer opportunity isn’t lost.  Since using this app, I was ALWAYS able to get a volunteer opportunity filled. 

You may be facing a lot of challenges or feel stuck if you are just starting out with teaching small group lessons or are teaching a new grade level, or maybe small group lesson planning is just not your thing and you are trying to improve. You may just not have time to do the upfront prep work.  Whatever problem you may be having, I can help you out.  I have made small group lesson plans for the whole year that you can use.  They follow the EL Skills Block Phonics Curriculum which is research based.  All you need to do is print it out and get familiar with the different activities used throughout the booklet and your small groups are set!  There are learning targets, word lists, and great research based activities to teach each phonics skill.  You can adapt most activities to work with just a whiteboard.  There are 1st grade and 2nd grade options to purchase.  If you have students on various levels, you may want to grab both 1st and 2nd grade levels.  This will help save you quite a bit of time and make it possible to skip over steps 1-4. Click below to see more details about these resources.

Before starting centers, you need to assess students, this is so you know how to group students AND what skill each group needs to work on.  If you don’t know where to start when it comes to assessing and grouping students, I have another blog post all about this.  You can check out this blog post by clicking here.


I personally really like to use the assessment that EL Skills Block provides with their curriculum.  It systematically helps group students after they are assessed AND it tells you exactly what skill that each group should focus on next.  It aligns with the other helpful resources talked about in this post.  You can check out my version of this assessment by clicking here.

After you have been able to assess all your students, put them into groups, then comes the easy part.  All you need to do is find the matching skill each group is working on.  You should be able to easily find this if you filled out the FREE TEMPLATE or if you purchased the small group lesson activities.  I like to place a tab for each group next to the lesson they are on.  It looks  something like this:

Now my weekly prep is literally moving each group tab marker up to the next phonics skill and pulling any pre-made materials if needed for the included activities.  It really is that easy.  

Where it does take initial prep which may be daunting, I promise you that in the future, you will thank yourself for making things streamlined. You can then use these materials year after year and will save so much time!

Organization

Classroom Library Organization

lemon-tuesday-font

Are you a first year teacher?  Or just frustrated with your classroom library organization?  You’ve come to the right place then.  Learn how to organize your classroom in an easy way for your students to visually see and pick up books; plus help students take ownership and put books away on their own.  
My secret little weapon is using these library labels.  You place stickers on the spine of each book and a matching label on the book bin.  This helps students know exactly where to find the book they are looking for and where to put it away again.  If book bins are not your thing, you can also place the coordinating book sticker on the shelf itself so students can see the area that those books are found in.

I personally like to have my classroom library organized by both reading level and topic.  This way students can find books they are interested in by topic as well as books that are on their reading level.  These labels can be purchased either bundled with both topic and reading levels or separately. 

The following reading levels are provided:

  • -Fountas & Pinnell
  • -Accelerated Reader (AR)
  • -Lexile
  • -Developmental Reading Assessment (DRA)

If you want to make any adjustments to the labels feel free.  These are EDITABLE and tutorials are provided so you know exactly how to edit them or make your own to match.  The color coding for the reading levels can even be adjusted.  Edit them to fit your classroom!

lemon-tuesday-font

You can also choose the size that you want each book bin label to be.  They are set to fit one per page, but you can request to print 2 per page, 4 per page etc.  The labels pictured were set to print 6 per page.  Because they are made 1 per page, this makes it easy to pick and choose what labels you want printed without wasting paper.  Whoooo!!  


The labels are set to print on avery labels #8160.  You will need to purchase these in order for the stickers to align correctly when printing.  Here is a link to the labels I purchased to print on.

Once you have everything printed, I would suggest laminating the labels and placing packaging tape over the book spine stickers to ensure durability.  Then you are all set.  You will love the way this helps to increase functionality in your classroom and increase students’ interest in your library.

Interested in downloading these organizational library labels?? Click below.

om-telolet-om-font